
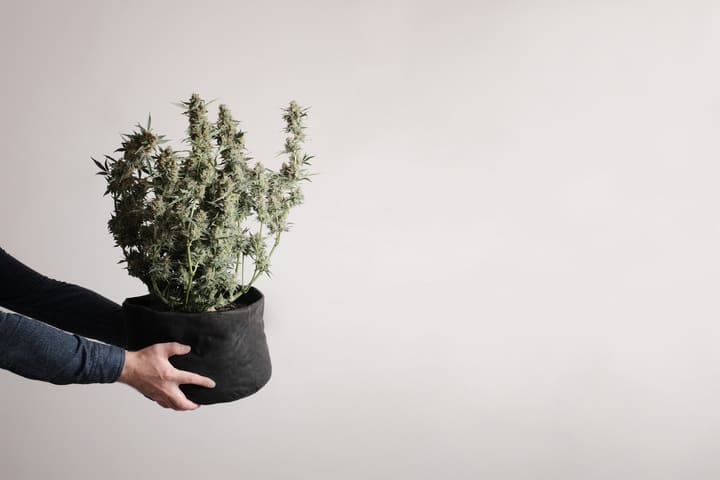
Outdoor grow season is entering full swing in South Africa, and that’s awesome – but what if you’re keen to try your hand at cultivation and you don’t have a garden? The obvious answer is to turn your hand to indoor growing, right? Well, suppose you don’t have the room or the budget for a full indoor grow setup, either. Then what?
Fear not, because where there’s a will to grow weed, there’s a way to grow weed. If you’ve got a spare cupboard, a bedroom closet, or even a little storage nook that normally just holds old jerseys and mismatched Tupperware, you’ve got enough space to grow your own cannabis. “How to grow dagga indoors” is less about buying expensive gear and more about understanding what the plant needs – then giving it that, consistently, in a very small footprint.
In South Africa’s legal home-grow landscape, a small, discreet indoor setup is perfect; it’s private, it’s weather-proof, and it fits our real-world homes, from Joburg flats to Cape Town cottages. This guide will show you how to grow dagga indoors in a tiny space using the right genetics, simple equipment, and solid technique – without having to turn your house in a hydroponic laboratory.
How To Grow Dagga Indoors – Choosing Your Space
Before we even start talking about seeds, you need to choose the right corner of your home to situate your dagga plants. For a micro-grow, think in terms of 1-2 small plants, not a forest of flower. A typical wardrobe, broom cupboard, or built-in closet is more than enough if you set it up intelligently.
If you want to know how to grow dagga indoors in a small space, it all starts with your grow site. So what should you be looking for in an ideal grow space? You need a space that is:
Private: Hey, it may be legal, but not everyone wants to advertise that they’re growing choof. If this sounds like you, choose a spot that’s out of direct sight when doors are open, so visitors don’t accidentally get a front-row view.
Close to a power source: You’ll need a plug for lights and maybe a small fan. (If you don’t have a wall socket within a few feet of a cupboard, you can get around this with an extension cable).
Reasonably cool and dry: Rooms that naturally hit sauna-level heat in summer are going to be a constant battle.

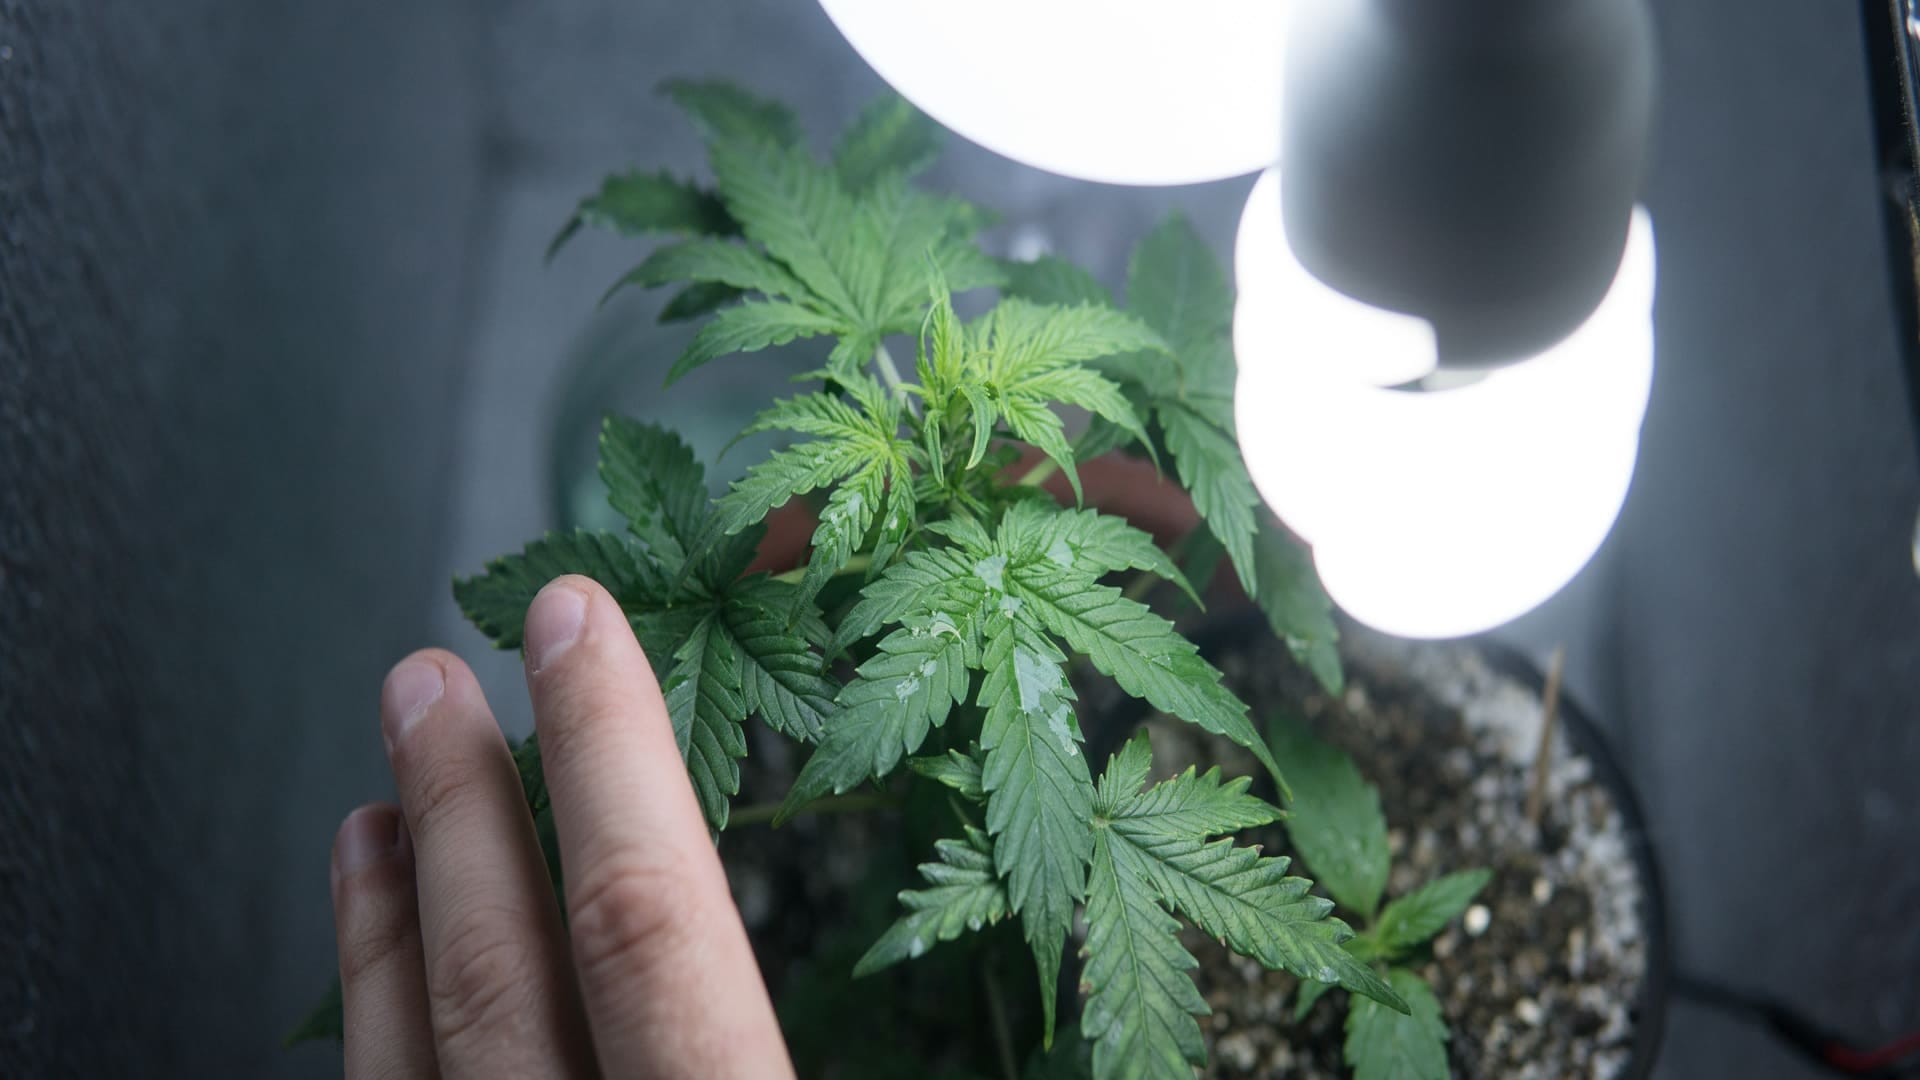
You don’t need a grow tent to grow dagga indoors. A simple cupboard with a door, a small LED grow light, and some basic airflow is enough to create a functional micro-environment for your plants.
If the interior of your grow spot is very dark, that’s actually good. You’ll be hanging your own light, and dark surroundings help prevent light leaks into the rest of the house. If the inside is very reflective (white melamine, for example), even better – that gives you bonus light efficiency.
How To Grow Dagga Indoors – Start With The Right Genetics
The most important decision you’ll make here is what cannabis seeds to run. In a small space, not all cannabis is created equal. Photoperiod cannabis strains typically demand a lot of space. Indicas get really wide and bushy, and sativa-dominant cannabis strains need ample headroom. Neither of these are ideal in a small space, so let’s pivot to autoflowering strains. If you want to know how to grow dagga indoors in a small space with fewer headaches, autoflowering cannabis strains are your best friend.
Why autoflowers are perfect for small indoor grows
Autoflowering cannabis varieties come from genetics that flower based on age, not light schedule. That gives you several key advantages in a closet grow:
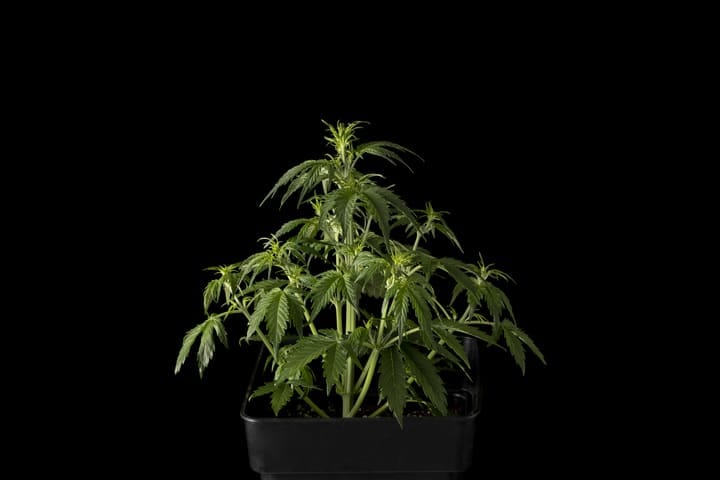
Compact structure: Most autoflowers stay naturally small and bushy, ideal for low headroom and limited width.
Fast turnaround: Many autos go from seed to harvest in roughly 10-12 weeks, sometimes even less, which means more frequent harvests in the same space.
No light schedule changes: Autos don’t need you to switch from 18/6 (dark/light hours) to 12/12 lighting to start flowering. They’ll transition on their own, simplifying your entire setup and eliminating light leaks as a big stress factor.
Lower nutrient demand: Autos generally require lighter feeding than photoperiod strains. Overfeeding is one of the most common beginner mistakes, and autos are happier on the gentler side.
Look for autoflowers that are described as “compact,” “short,” or “suitable for small spaces/indoor/micro-grows.” Indica-leaning or hybrid autos typically work better than tall, stretchy, sativa-dominant options for confined setups.
A word about yield
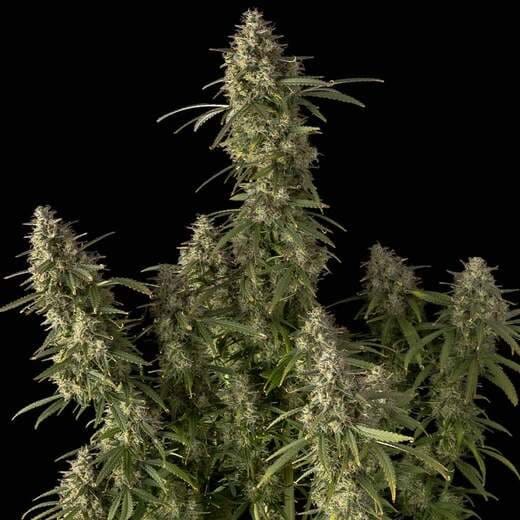
For the longest time, many growers frowned on autoflowering genetics as they often translated to a smaller yield. Makes sense, right? Smaller plant, smaller yield. But today’s genius breeders have engineered superb autoflowering cannabis varieties that close that gap. Take something like Seedsman’s Pineapple OG Auto – she'll churn out up to 600g/m2 in an indoor setup if you look after her properly. And if you’re looking for tips on yield, check out Jorge Cervantes’ superb article on how to maximize autoflowering yields. Looking for bigger buds? We have an article for that, too – check out How to Grow Big Buds on Autos to get your nugs nice and fat.
How To Grow Dagga Indoors In Small Spaces – Setting Up Your Space
Right, so you’ve chosen your cupboard and your seeds. Now let’s turn that little space into a workable micro-grow.
Lighting
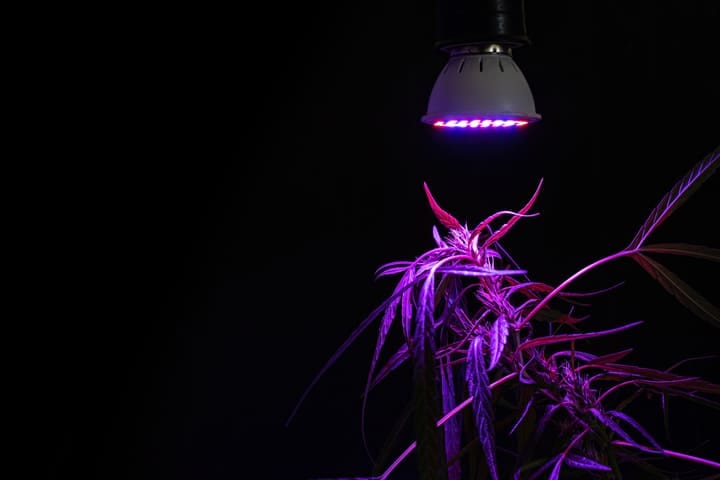
Choosing cannabis grow lights can be something of a minefield, but in a small space, LED is the way to go. Modern full-spectrum LED grow lights are energy efficient, run cooler than HID, and are slim enough to fit in tight vertical spaces.
For one to two autoflowers in a small cupboard, you’re tyically looking for:
Power range: Around 100-150 W quality LED for roughly a 60 x 60 cm footprint, give or take.
Spectrum: Full spectrum (marketed for veg and flower) so you don’t need separate lights for different stages.
Mounting: Hang from the top of the cupboard or attach to a crossbar. Make sure you can adjust light height over time as the plant grows.
Autoflowers do well on a simple 18 hours on/ 6 hours off light schedule from seed to harvest. Because they aren’t triggered by day length, you can keep them under this schedule the whole way through, which means more light and better yields than a strict 12/12 photoperiod run.
Keep the light at the manufacturer’s recommended distance. Too close and you risk light stress; too far away and the plant will stretch and weaken. Adjust the height weekly as the plant grows and always keep an eye on the leaves – if they start clawing upwards or bleaching, raise the light a bit.
Ventilation and odor control in a micro grow
Cannabis is a highly aromatic plant once flowering begins, so we can’t talk about how to grow dagga indoors in a small space without addressing that dank. And ventilation is essential - even in a cupboard grow, your plants need fresh air. Stale air equals slow growth and a higher risk of mold.
In a minimal setup, you can get away with a small clip-on fan or PC fan to move air around inside the space.
Ideally, you still want a way to vent warm air out – even if it’s just leaving the cupboard door open a crack during lights-on. If odor is a concern (neighbors, visitors), a small carbon filter and inline fan system is ideal, but not strictly mandatory if your setup allows some smell. Just know that even one healthy plant can stink out an entire flat near harvest.
Containers, media and nutrients for small indoor grows
Learning how to grow dagga indoors efficiently demands you think about your plants’ roots as much as their leaves. Your pot size and medium will influence plant size, watering frequency, and nutrient requirements.
Pot size and type
For most autoflowers in a tiny space, a 7-11 litre pot is the sweet spot. Bigger pots can grow bigger plants, sure, but they also need more vertical space and greater light intensity to match.
Fabric pots are fantastic for micro-grows because they allow better root aeration and help prevent overwatering. If you only have plastic pots, that’s fine – just be extra careful not to drown the plant.
Growing medium
For beginners, a quality pre-mixed soil or soilless mix is easiest. Look for something light and airy here, though – avoid gardening soil as it’s generally heavier than we need for the task. Many cannabis-friendly soils already come with gentle nutrients that can sustain the plant for its first few weeks.
Coco coir is also an option if you’re comfortable watering more often and giving nutrients almost every time. It can produce great growth – just know that it’s a little less forgiving if you neglect the plant for a day or two.
Nutrients for Autoflowers
As we mentioned earlier, one of the advantages of growing autoflowers is that they don’t need aggressive feeding. In fact, it’s safer to underfeed than overfeed them. Start at about half the manufacturer’s recommended dose for cannabis nutrients, and only increase if the plant clearly asks for more (lighter-than-normal green leaves, slower growth). Conversely, dark, shiny leaves with burnt tips usually mean you’re overfeeding.
Focus on:
- A mild grow nutrient during the early vegetative weeks.
- A bloom nutrient once you see the first clusters of pistils (white hairs) forming.
- Because autos transition to flowering on their own, you’ll often see this around weeks 3-5 from sprout, depending on the strain.
How to Grow Dagga Indoors In Small Spaces: Step-by-step
Let’s put all of this together in a clear, practical sequence you can follow from seed to harvest.
Step 1: Germination and early seeding stage

Start by germinating your autoflower seeds using your preferred method. If you’re completely new to this, you can learn how to germinate cannabis seeds right here on the Seedsman blog. The key is warm, moist – not soaked – conditions and gentle handling of the taproot once it breaks through.
Once you can see a small taproot, place the seed taproot-down into its final pot. Autoflowers generally do best when they’re not transplanted multiple times, because their life cycle is short and they don’t always have time to recover from stress.
Under your LED light, run 18/6 (18 hours lights on, 6 hours lights off). Keep the medium slightly moist but never flooded. Seedlings hate heavy, wet soil with poor oxygen – they need to breathe. A small humidity dome or even a clear plastic bottle cut away with holes in it can help maintain humidity in very dry environments.
Step 2: Early Vegetative Growth (weeks 2-3)
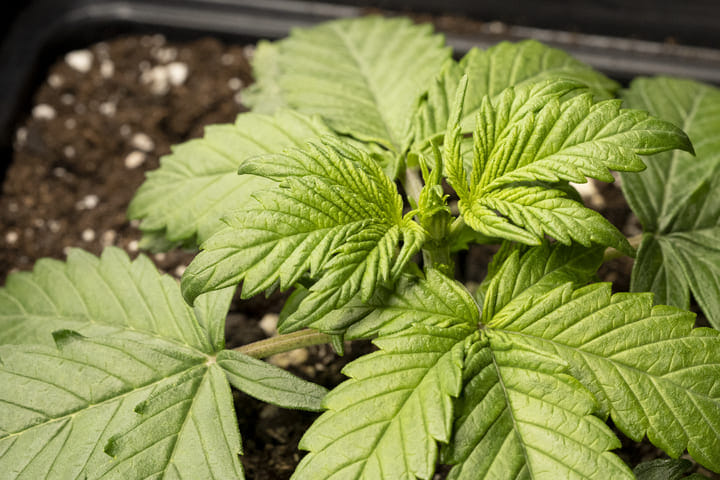
Once the plant establishes a few sets of true leaves, you can gradually lower your grow light to a normal height. At this stage, your job is to provide:
- Stable temperatures in the 20-28°C range
- Gentle airflow
- Light, infrequent watering – let the top couple of centimetres of soil dry out before watering again.
If your soil is pre-fertilized, you might not need to feed yet. If not, you can start with a low dose of grow nutrients once the plant has 3-4 nodes (sets of leaves). Remember, autos prefer light feeding.
Step 3: Training your autoflowers in a small space

Plant training is where many new growers overdo it with autos. Unlike photoperiod plants, autoflowers don’t give you unlimited time to recover from stress. You can’t just extend veg by keeping them on 18/6 - they’re on a biological timer.
That said, gentle low-stress training (LST) can be very effective in a small cupboard. Your goal is to keep the plant low and wide so light reaches more bud sites and the main colas don’t grow into the LED.
Here’s what you can do in terms of training autoflower plants without unduly stressing them:
Gentle LST: Begin when the plant is flexible, usually around weeks 2-3. Use soft plant ties or garden wire to carefully bend the main stem sideways and secure it. This encourages side branches to grow upwards, creating a flatter canopy.
Leaf Tucking: Instead of heavy defoliation – which can stress plants – tuck larger fans leaves under lower branches to expose bud sites to more light without removing too much foliage.
Keep Defoliation to a minimum: If leaves are severely blocking airflow or light, you can remove a few – but avoid stripping the plant. Every leaf is a solar panel, and autos don’t like big, sudden changes.
Cannabis plant training techniques are divided into low-stress and high-stress forms. Avoid high-stress techniques like topping or mainlining on your very first autoflower runs in a small space. Some experienced growers do top certain autos, but the timing and genetics have to be dialled in to avoid harming the plant. For most beginners, it’s a risk that isn’t necessary for a successful micro-grow.
Step 4: Pre-flower and full flowering (weeks 4-9, strain-dependent)
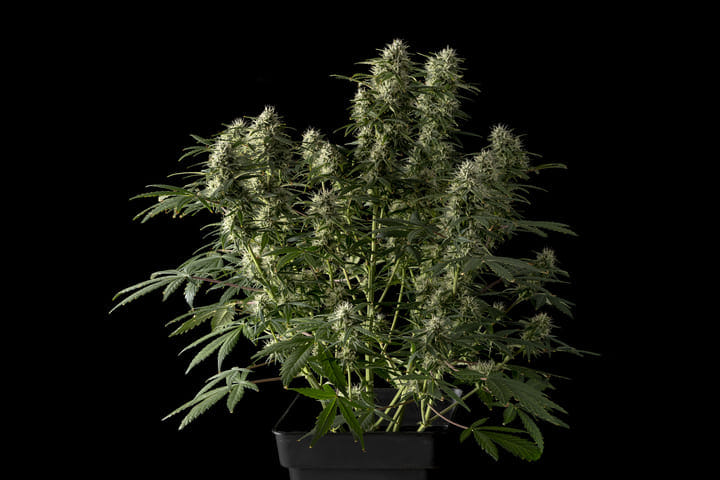
Around this time, you’ll start to see pre-flowers – tiny pistils at the nodes. At this point, your plant shifts its energy from building its structure to producing buds. Begin managing your autoflower's nutrient needs and switch from grow nutrients to bloom nutrients gradually over a week or so. Keep the light at a good distance and maintain your 18/6 light schedule – more light equals bigger yields, as long as you don’t burn the plant!
Watering now becomes more frequent as the plant eats and drinks more. Use the weight of your pot as a quick guide: a dry pot is surprisingly light; a fully watered pot is significantly heavier. Try not to overcorrect - letting the medium go from slightly dry to nicely moist is the rhythm you’re aiming for.
Keep an eye on humidity at this point, especially in coastal or high-humidity climates like Durban. High humidity in late flower is a recipe for bud rot, and bud rot is a recipe for disaster. A small dehumidifier can go a long way to protecting your flowering plants, but simply improving airflow by keeping doors open during lights-on or a slightly stronger fan can help keep moisture in check.
Autoflowering cannabis is typically hardy, but keep your eyes on the prize here and your vigilence here will pay dividends. Monitoring for mold is a key step in how to grow dagga indoors succesfully – whether in a small space or a large one.
Step 5: Ripening and harvest
As the weeks pass, you’ll start to notice your pistils gradually darken and curl in, and the buds should be fattening up nicely. Avoid the temptation to harvest too early, though, as this is the sweet spot where a great deal of the potency and flavor is developing.
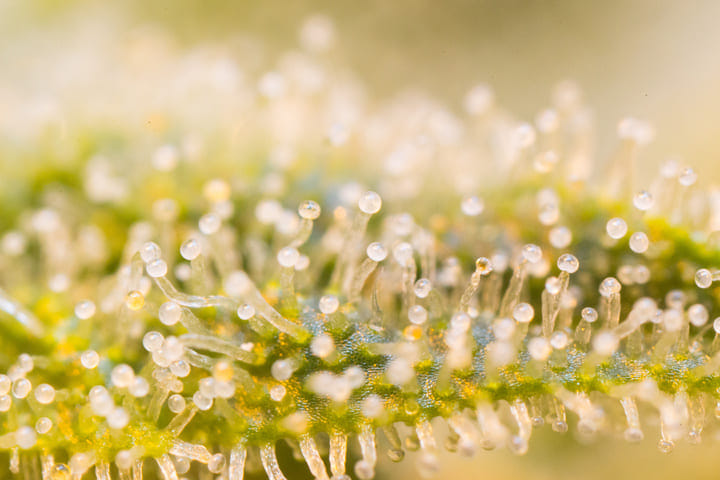
A quick rule of thumb: when the majority of pistils have darkened and pulled back, and the buds look dense and finished, you’re likely in the harvest window. To get this right, inspect the plant’s trichomes (see picture above) with a magnifying glass, jeweller’s loupe, or even just zoom in with your smartphone’s camera. When your buds are good to harvest, trichome heads will appear mostly cloudy with some of them amber in color. Bingo.
Then, you can read our step-by-step guide on how to harvest weed.
How To Grow Dagga Indoors In Small Spaces: Final Thoughts
Growing weed indoors in a small space is often made to sound like a complicated science project, but in reality, its about mastering a few fundamentals in a manageable space. The trick is to start with the right genetics, and autoflowers are tailor-made for this style of growing since they’re compact, fast, and perfectly happy in a bedroom cupboard on an 18/6 light schedule from start to finish.
Learning how to grow dagga indoors means no matter your climate, budget, or available space, you’ll always have the capacity to grow your own cannabis, and that way you can control the quality while having a worthwhile hobby that brings its own reward. Treat your plants with patience, and you’ll quickly find that your own little closet grow can punch well above its weight.
Happy Growing!
