
So, you’ve finally harvested your weed – congratulations! But before you start rolling up your homegrown dagga, there’s one crucial step left – drying. The cannabis drying process is just as important as growing because it affects the potency, flavor, and overall quality of your buds.
Drying weed the right way ensures a smooth smoke, preserves terpenes, and prevents mold. Get it wrong, and you could end up with harsh, low-quality bud that burns unevenly or even rots before you get to enjoy it. In this guide, we’ll show how how to dry weed the right way, whether you’re working with a small personal harvest or a larger yield. We’ll cover different methods, the tools you need, the ideal drying conditions, and common mistakes. By the end, you’ll know exactly how to dry weed to get the best results.
Why Drying Your Weed Properly Matters
Drying isn’t just about removing moisture from your buds – it’s about doing it right. Proper drying preserves the delicate terpenes that give your weed its luscious aroma and flavor while ensuring the cannabinoids (like THC and CBD) remain perfectly potent. Drying too fast can make your weed taste grassy and harsh, while drying too slowly can lead to mold – and mold’s bad enough during a grow, but finding mold after harvest is a nightmare. The processes of dry and cure are critical for enhancing the flavor, aroma, and overall potency of cannabis, and maintaining appropriate temperature and humidity levels throughout these stages is essential.
A good drying process also the stage for curing, which further enhances the quality of your bud. Rushing it or cutting corners at this stage can make months of careful growing go to waste. So if you’re new to all this, read on to learn how to dry weed the right way.
What Equipment Do You Need To Dry Weed? Setting Up a Drying Room
Before you start, make sure you have the right setup. The key to successful drying is controlling the environment, so having the right tools will make a big difference.
Here’s what you’ll need:
Scissor or pruning shears – To trim excess leaves before drying
Drying racks, hangers or mesh nets – Depending on your chosen method of drying
Fans – To improve airflow, but never point them directly at buds
A hygrometer – To measure humidity and temperature in your drying space
A dehumidifier or humidifier – To help you make adjustments to moisture levels as needed
A clean, well-ventilated, dark space – A spare room, cupboard, or grow tent will work
Using drying rooms can provide exceptional control over temperature, humidity, and airflow, ensuring the high quality of your cannabis.
How To Dry Weed – The Best Methods
There’s more than one way to dry cannabis, and the best method depends on the size of the harvest and the space you have available. Let’s break down the most common techniques.
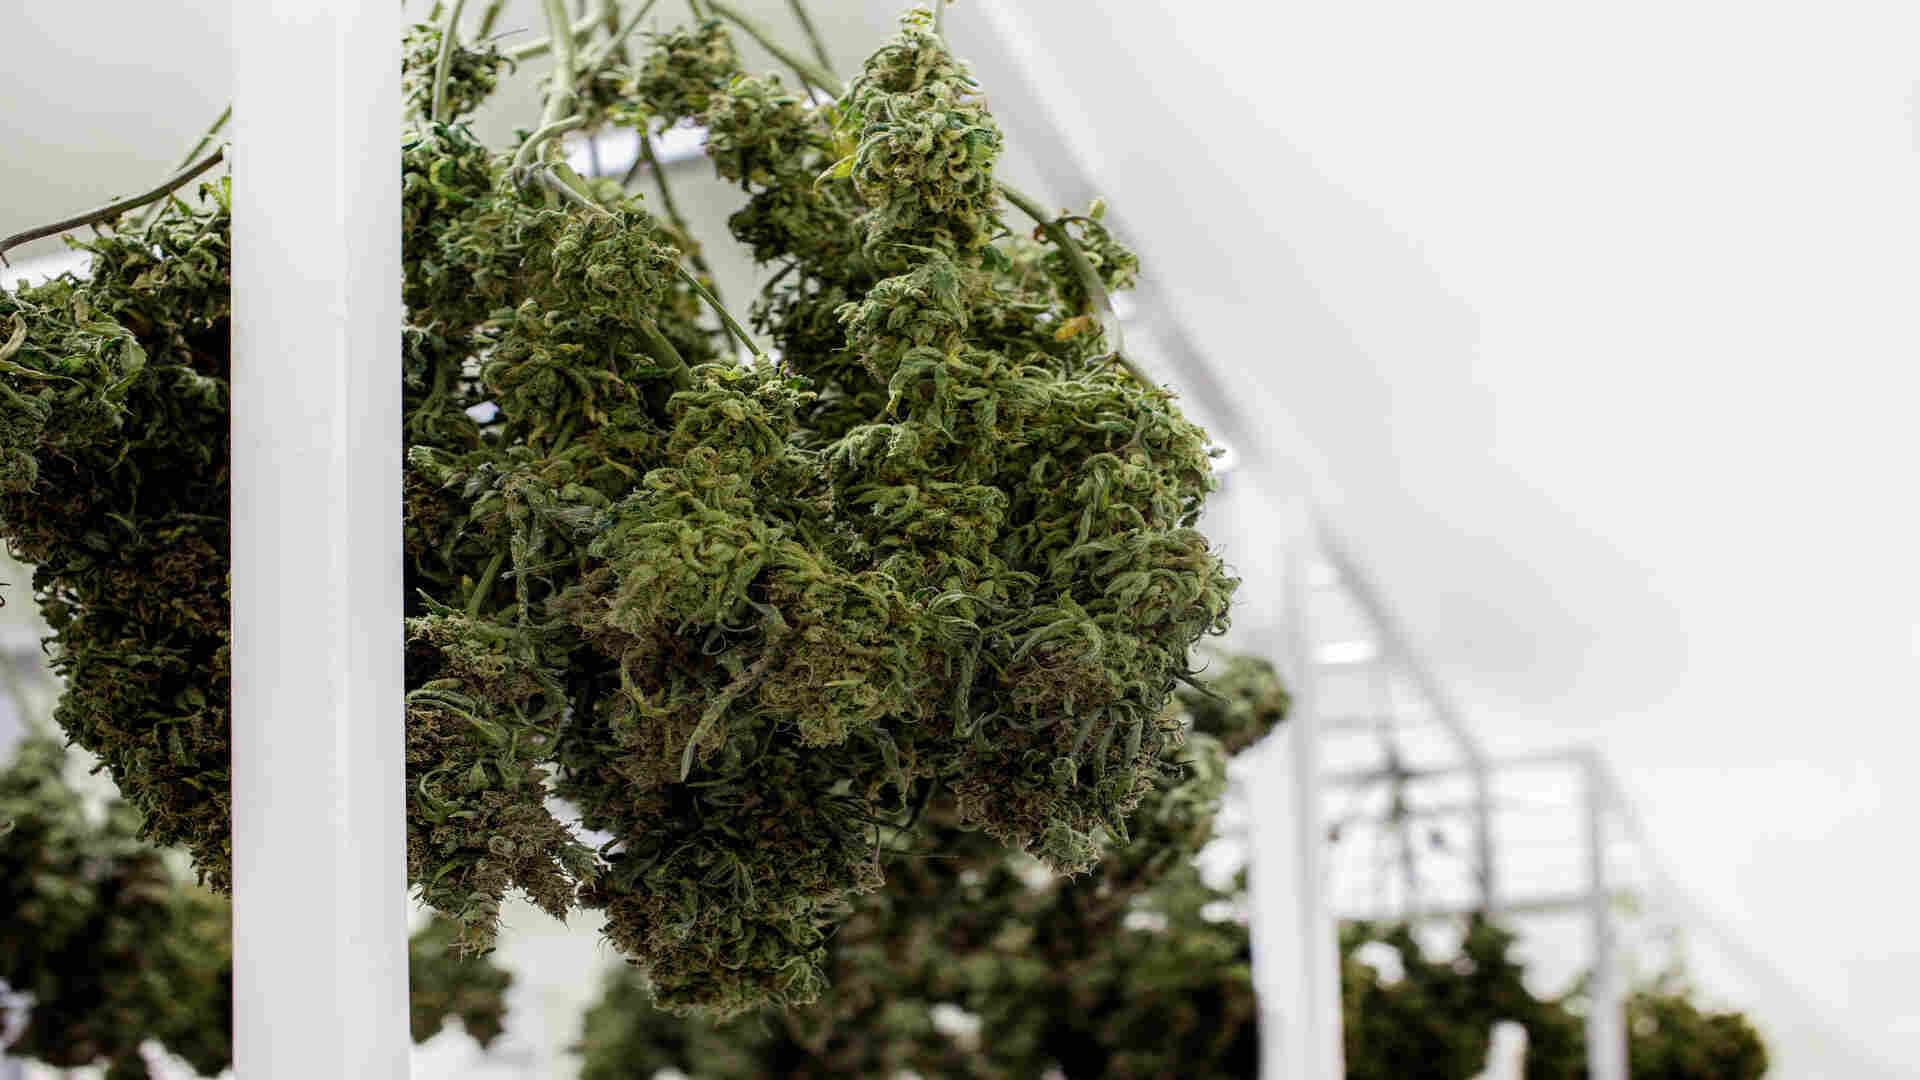
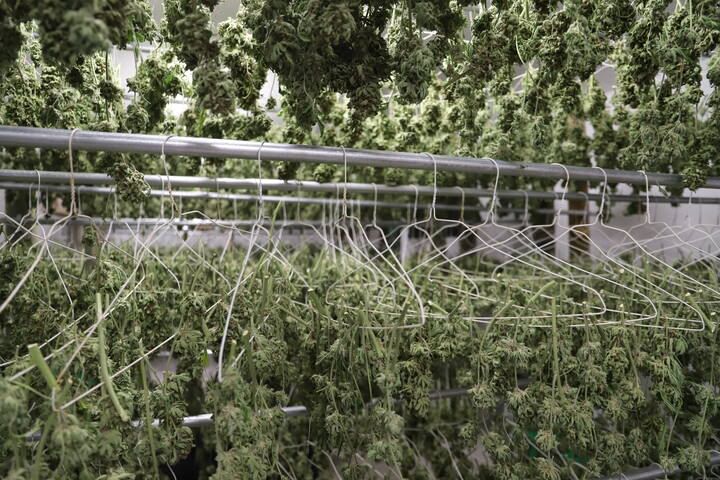
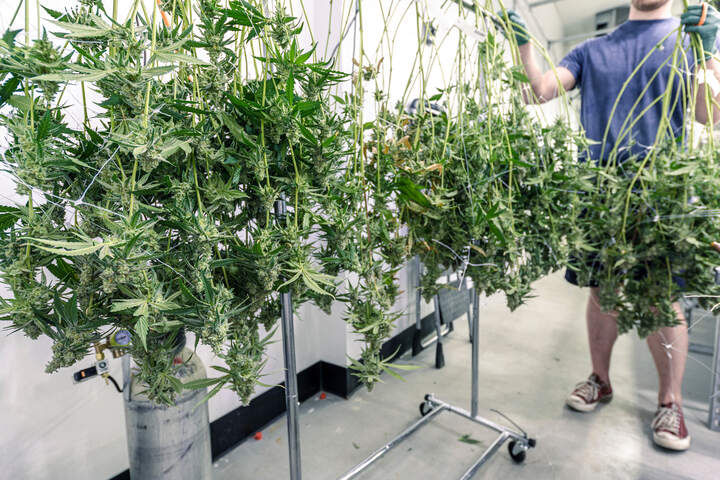
How to Dry Weed Using the Hanging Method
The most traditional and widely used method sees you hang drying branches upside down in a well-controlled environment, and this is how to dry weed for a medium or larger harvest. To do this, first trim off large fan leaves to improve airflow. Then, cut the plant into smaller branches, about 30-40cm long, and hang them upside down over a length of string, pole, or a washing line, using hangers or clothes pins to attach them.
The drying room should be kept at a temperature of 15—21°C with a humidity level of 45-55%. Good airflow is important, but avoid using fans directly on the buds as this can dry them too quickly.
The hanging method usually takes 7-14 days depending on the environment. You’ll know your buds are ready when smaller stems snap rather than bending.
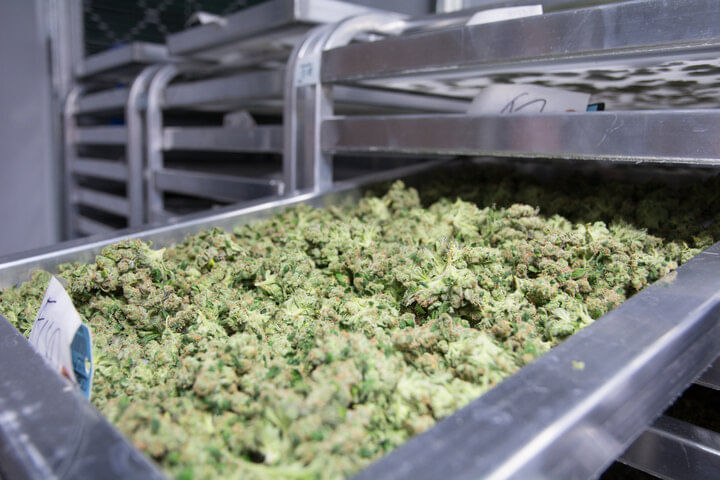
How to Dry Weed on a Rack
Ideal for small to medium harvests, drying racks or mesh screens are a great alternative if you don’t have space to hang branches. This method involves trimming buds off the branches before placing them on a flat, well-ventilated surface. It is important to consider the dry trim process to ensure the buds are ready for drying and curing stages.
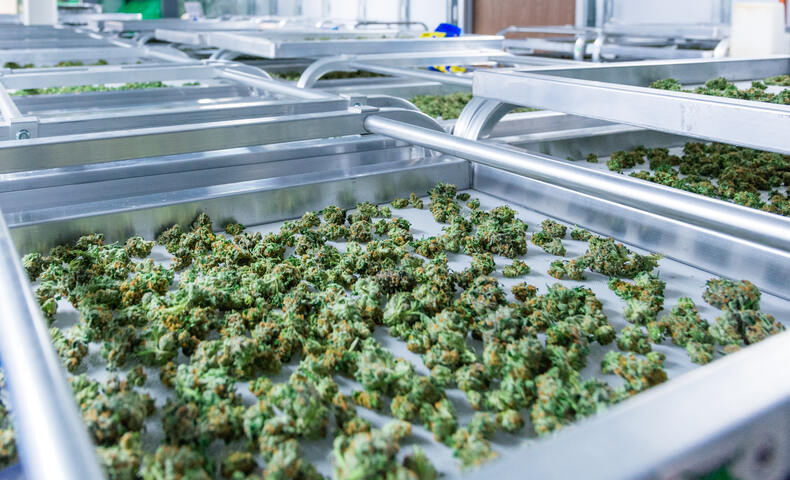
The key to success with rack drying is spacing the buds out evenly so they don’t touch. Overcrowding can trap moisture and lead to uneven drying or mold issues.
Like the hanging method, the environment should be maintained at 15-21°C with 45—55% humidity. Drying on racks tends to be slightly faster, usually 5-10 days, but regular checking is essential to prevent overdrying.
How to Dry Weed Using the Paper Bag Method
If you’re dealing with a smaller harvest or you need to dry out a few buds in a hurry, using paper bags can work – though it’s not ideal for larger quantities of weed. Wet trimming is another method to consider before using the paper bag method.
For this method, trim your buds off the branches and place them loosely in a paper bag. Avoid overpacking, as airflow is crucial. Then, keep the bag in a dark, well-ventilated space and gently shake it daily to prevent moisture buildup.
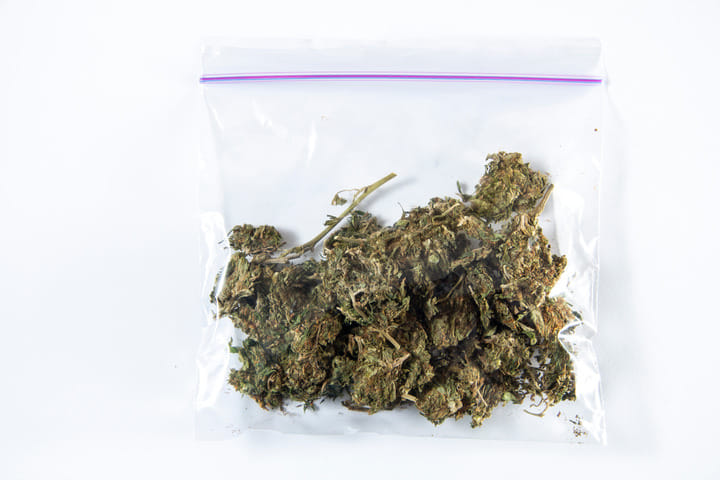
The downside of this method is that it can sometime lead to uneven drying and even trap moisture if you’re not careful. It usually takes around 5-7 days – but should only be used for an emergency dry of a short-term smoke if no other option is available. This is not ideally how to dry weed in a full harvest quantity.
How Long Does Cannabis Take To Dry?
Drying times vary depending on the method and environment. Here’s a rough guideline:
| DRYING METHOD | TIME REQUIRED |
| Hanging Method | 7-14 Days |
| Rack Drying | 5-10 Days |
| Paper Bag Method | 5-7 Days |
A slower drying process, extending up to three weeks, can help preserve essential terpenes and flavors, enhancing the overall quality of your cannabis.
It can be really tempting to jump in early and get your hands on some of that smoke, but patience is definitely key. Hopefully, you’ve still got a little left in your stash to tide you over while you’re waiting out the dry.
Don’t jump in too soon - if buds feel dry on the outside but the stems still bend rather than snap, they need more time. Remember, patience is key – rushing the process can ruin the quality.
Optimal Conditions For Drying Cannabis: Relative Humidity
Creating the right environment is essential for proper drying. Here are the ideal conditions:
| FACTOR | OPTIMAL RANGE |
| Temperature | 15-21°C |
| Humidity | 45-55% |
| Airflow | Gentle circulation, no direct fan on buds |
| Light exposure | Dark room, no direct lights |
It's important to monitor how much moisture is in the buds during the drying process. Freshly-harvested cannabis can have over 70% moisture content, and the ideal moisture level for curing is 10-12%. If your drying space is too humid, use a dehumidifier to bring it down. If it’s too dry, a humidifier or a bowl of water can help maintain the right moisture levels.
Understanding the Importance of Curing Cannabis
Curing cannabis is a crucial step in the post-harvest process that can make or break the quality of your final product. While drying removes the bulk of the moisture from your cannabis buds, curing allows them to mature and develop their full flavor and aroma. This process can take anywhere from a few weeks to several months, depending on the desired outcome. Properly cured cannabis buds are smoother, more flavorful, and more potent, making the extra time and effort well worth it.
Curing cannabis also helps to preserve the delicate terpenes and cannabinoids that contribute to the overall experience. Without curing, your buds may taste harsh and lack the depth of flavor that well-cured cannabis is known for. Additionally, curing helps to prevent the growth of mold and bacteria, ensuring that your cannabis remains safe and enjoyable to consume.
Drying Mistakes to Avoid
Many first-time growers who don’t know how to dry weed make mistakes that can affect the final product. Here’s some key do’s and dont’s to keep in mind: Over drying can make buds overly brittle and cause them to crumble upon touch, so it's crucial to achieve the right balance in the drying process.
What You Should Do:
Keep your drying space clean and free from dust and contaminants
Monitor humidity levels daily using a hygrometer. Avoid too much moisture to prevent mold growth and ensure proper drying
Space out your buds to allow for proper airflow
Keep your drying area dark to preserve potency
What You Should Never Do:
Don’t dry buds in direct sunlight – it degrades THC
Don’t use plastic bags for drying, as they trap moisture
Don’t rush the process with high heat or too much airflow
Don’t let humidity get too high, as this can cause mold
What To Do After Drying: The Curing Process
Once your buds are properly dried, you’re not quite done yet. Now it’s time for the final steps:
Trim your buds – If you didn’t trim before drying, now is the time to remove any excess leaves. This improves the look (that all-important bag appeal), taste, and smoke quality.
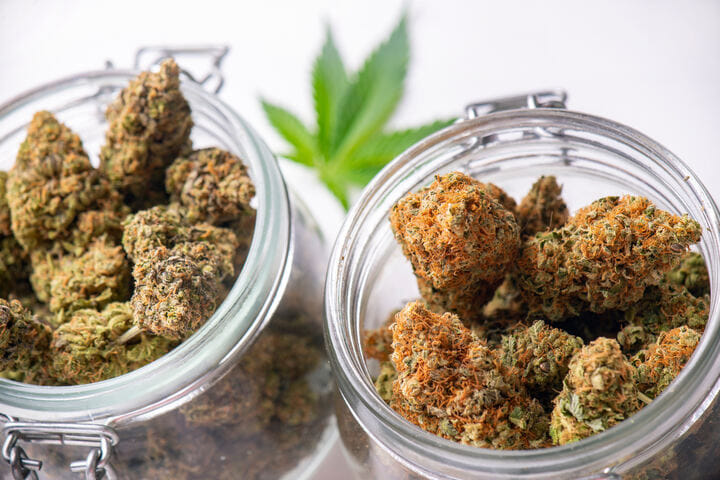
Cure Your Weed – Place the dried buds in glass jars, opening them daily for the first two weeks to release excess moisture. This process, known as curing cannabis, improves flavor, smoothness, and potency. Properly cure cannabis to avoid common issues and achieve the best results.
Store Properly – Keep your weed in airtight jars in a cool, dark place. If stored correctly, your buds will stay fresh for months.
How To Dry Weed – Final Thoughts
Now you know how to dry weed properly, you hold the key to the difference between harsh, disappointing bud and smooth, flavorful smoke. Whether you’re drying a small batch in your cupboard in Cape Town or handling a larger harvest in Mpumalanga, the principles remain the same – patience and control are crucial factors in how to dry weed. Drying and curing are essential post-harvest processes that enhance flavor, potency, and ensure a smoother smoking experience.
You’re one step closer to enjoying your homegrown dagga at its finest. Keep it slow, steady, and precise, and you’ll be rewarded with high-quality weed that’s worth the wait.
