
When growing cannabis, many want a smooth and quick plant growth. No one wants to run into issues, especially those who use this plant for medicine or crops. Having a smooth grow with no hiccups is what we all strive for, dreading anything that can slow down the journey. One way to quickly overcome problems in your tent or farm is to identify the root causes of the slowdown. Start by conducting a series of checks on your fundamentals, and you'll have a better chance of successful cannabis cultivation.
Identifying The Root Causes: Common Factors Affecting Cannabis Growth Rates
If you notice any plants growing at a decreased rate, the first thing to do is identify the leading causes of the slow-down. This can sometimes be difficult, especially for a beginner, leading to further mistakes. Let’s look at some of the root causes.
Seed v Clone
The first thing to look at is genetics – and where you got your cannabis seeds from. With the expansion of social media and online buying, many out there claim to be excellent breeders but will sell you untested or sub-par genetics, leading to problems with germination and growth. Always go with a reputable breeder or seed bank that has been in the game for a while. These breeders and banks will tend to have a higher quality standard than those messaging you on Instagram, asking you to add them as a friend or buy their product.
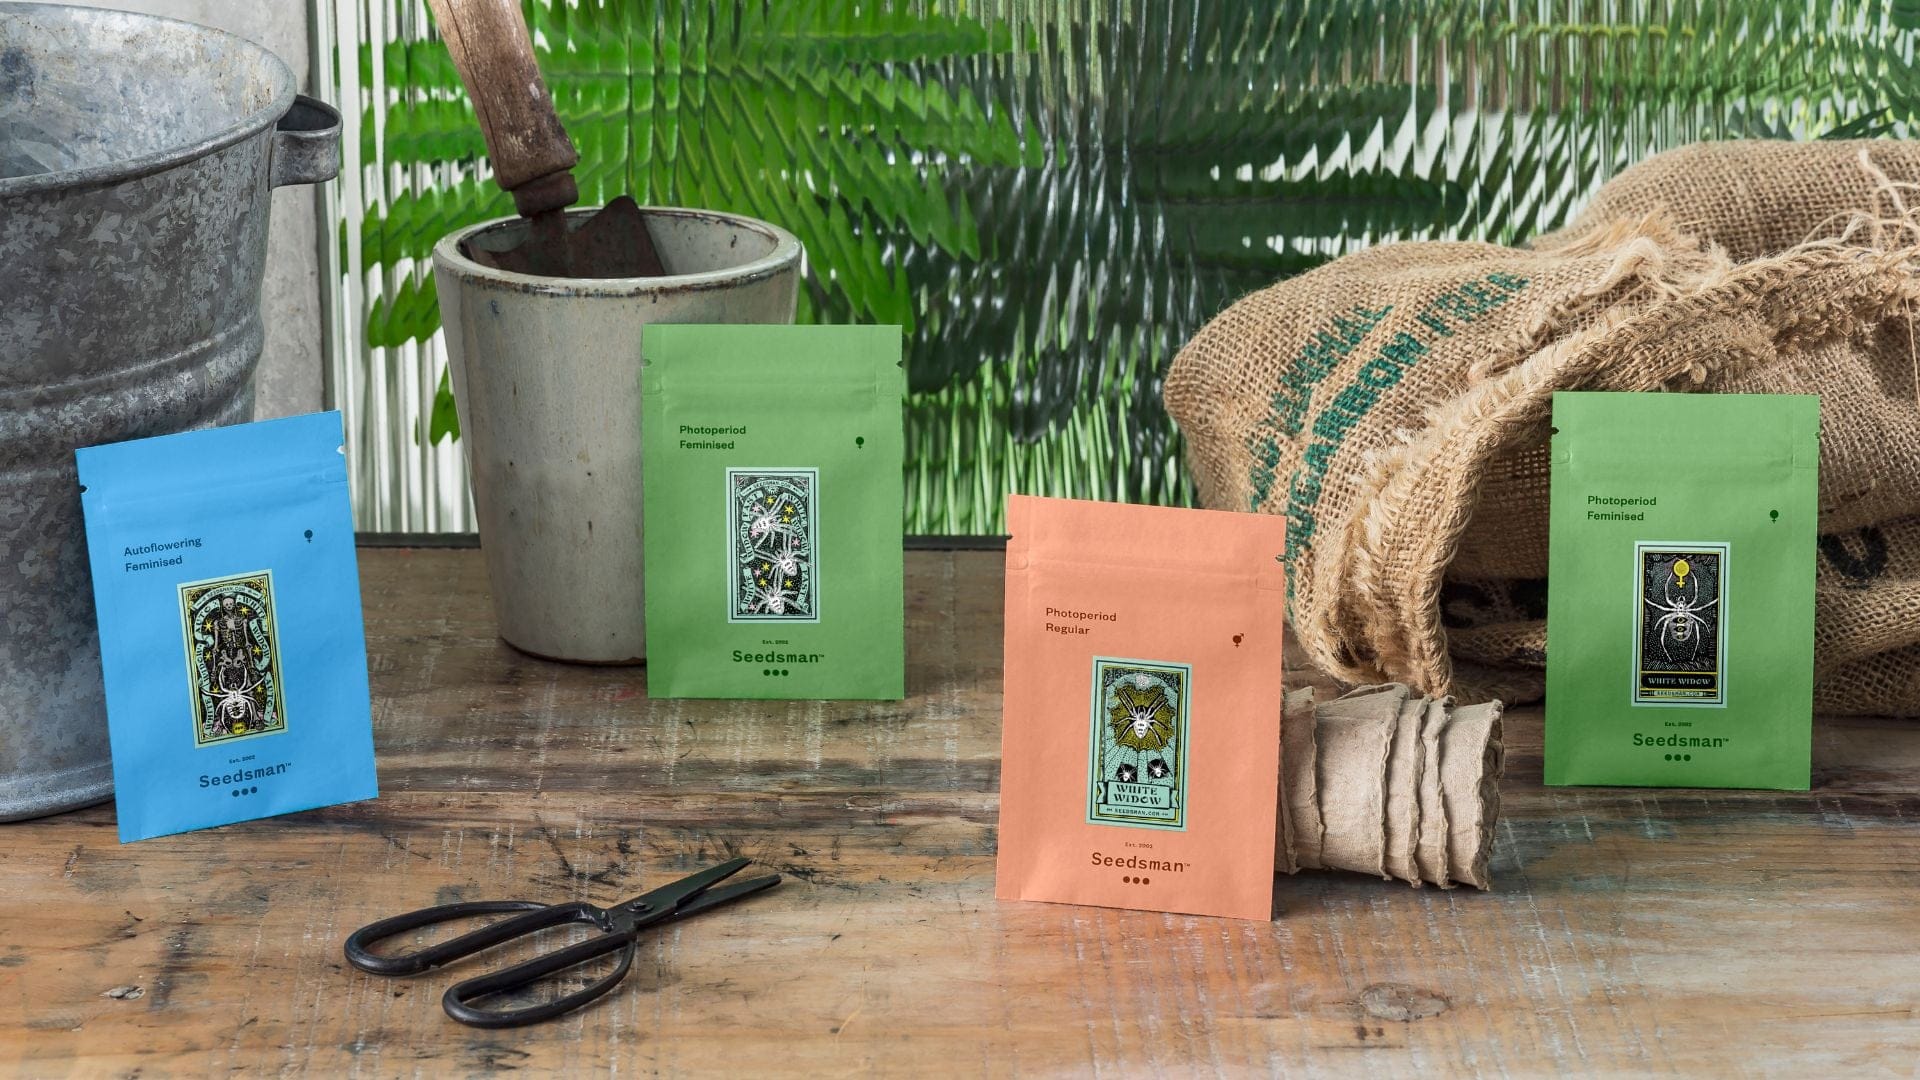
On the other side of this, if you are cloning yourself or buying clones, you will want to look at the clone's health. You don’t want to plant an already stressed clone, as doing that will cause a significant slowdown in the plant's growth. If you have bought from a reputable breeder or bank or have made sure that the clone you are using is happy and healthy, then more than likely, the problem lies elsewhere.
Environmental Considerations
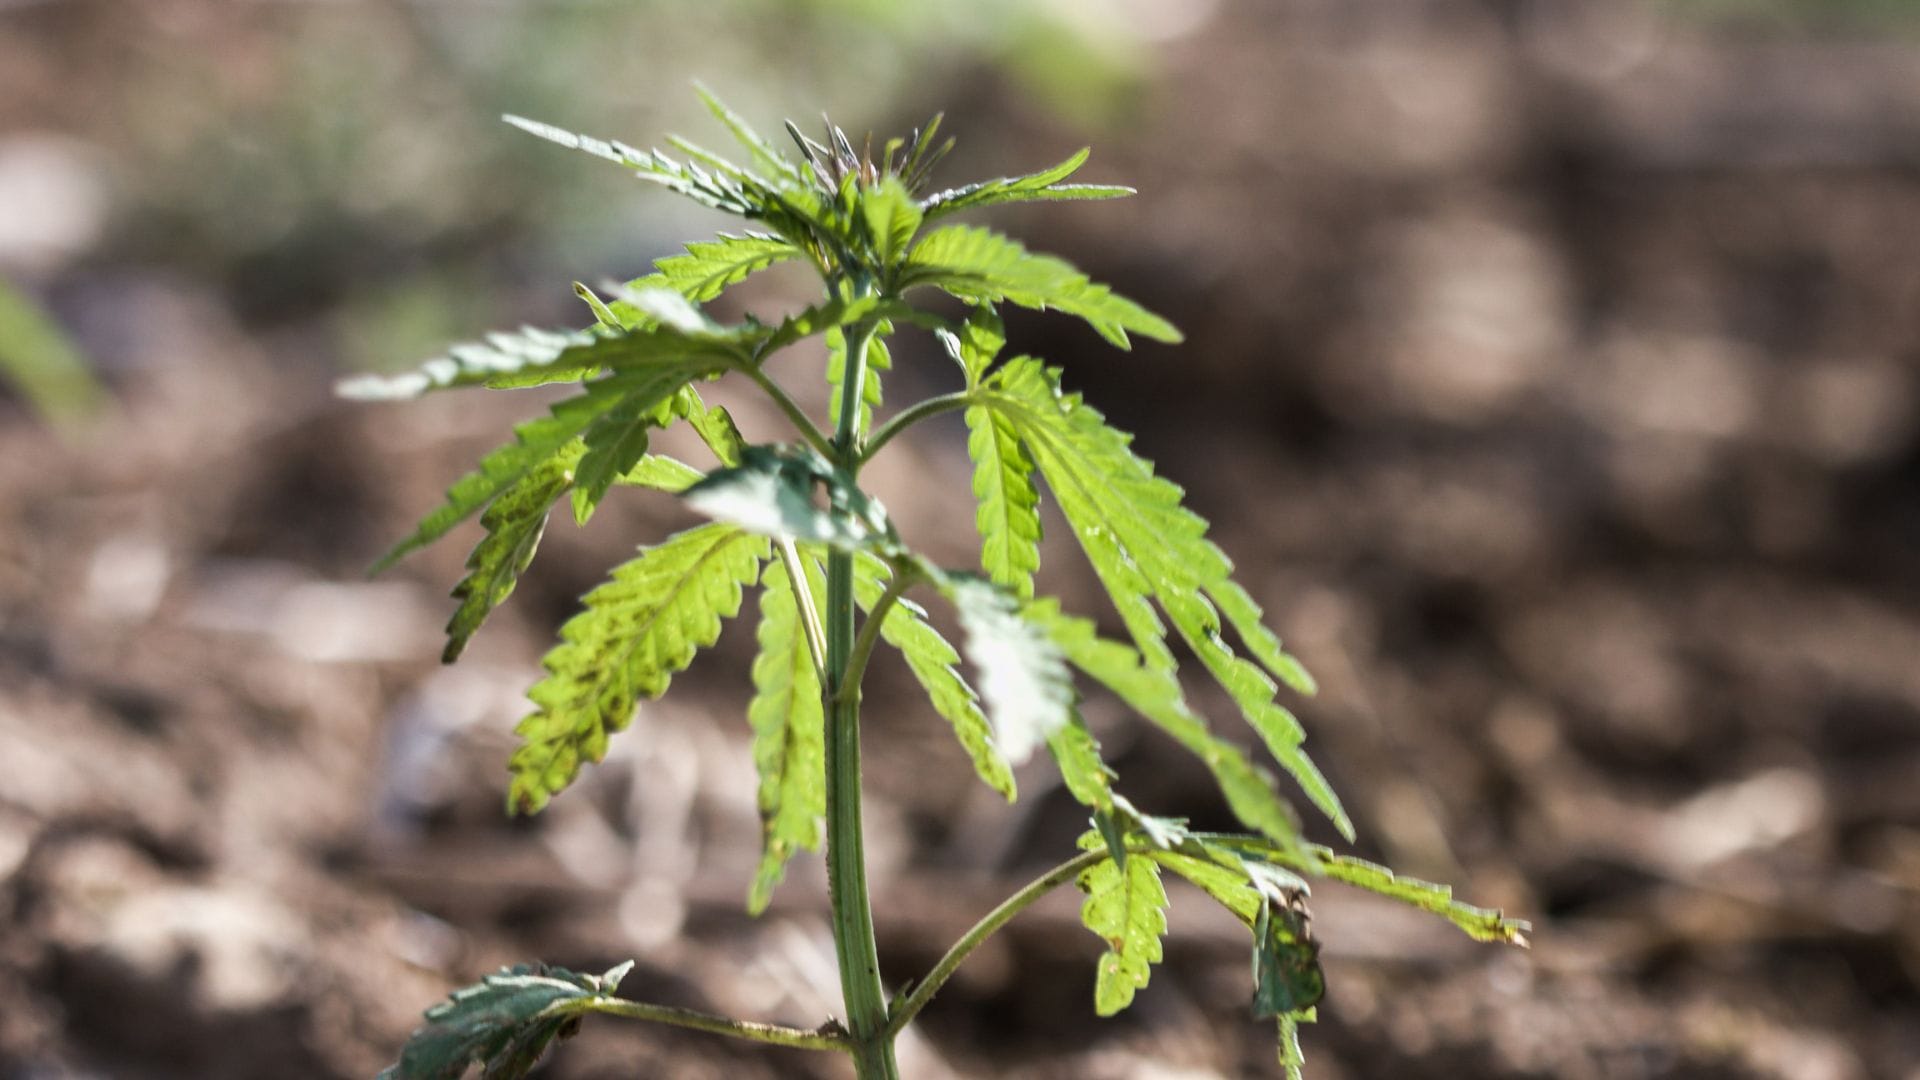
Your environment is one of the next things to look at, especially if the plants are not yet fully rooted and established. Plants grow with the seasons, in general. So, when planting a new cultivar, you will want to see when they tend to grow the fastest. For cannabis, you usually want higher heat with humidity. That’s not always the case, as some enjoy more of a cooler, dry environment. Knowing your strain, and if it's indica or sativa, or a hybrid with dominance in one or the other of these, will go some way to dictating the environmental needs of the plants. This will typically include lighting requirements, too.
Nutrients
The final few things to look at are the nutrients. This can seem very daunting, depending on the substrate and growing style you choose. There are several types of organic grows, coupled with nutrient (salt-based) hydroponics grows, making growing cannabis more complicated to understand. For most new growers, just a simple breakdown of their growing style will help alleviate this issue and give them much more confidence.
Getting The Right Environment: Temperature, Humidity, And Air Circulation Considerations
For the environment, there are three main factors to consider:
- Temperature
- Humidity
- Airflow
These conditions aren’t always static and can be ever-changing, especially regarding the different growth stages of plants. Monitor all three of these as the plants grow, and adjust accordingly.
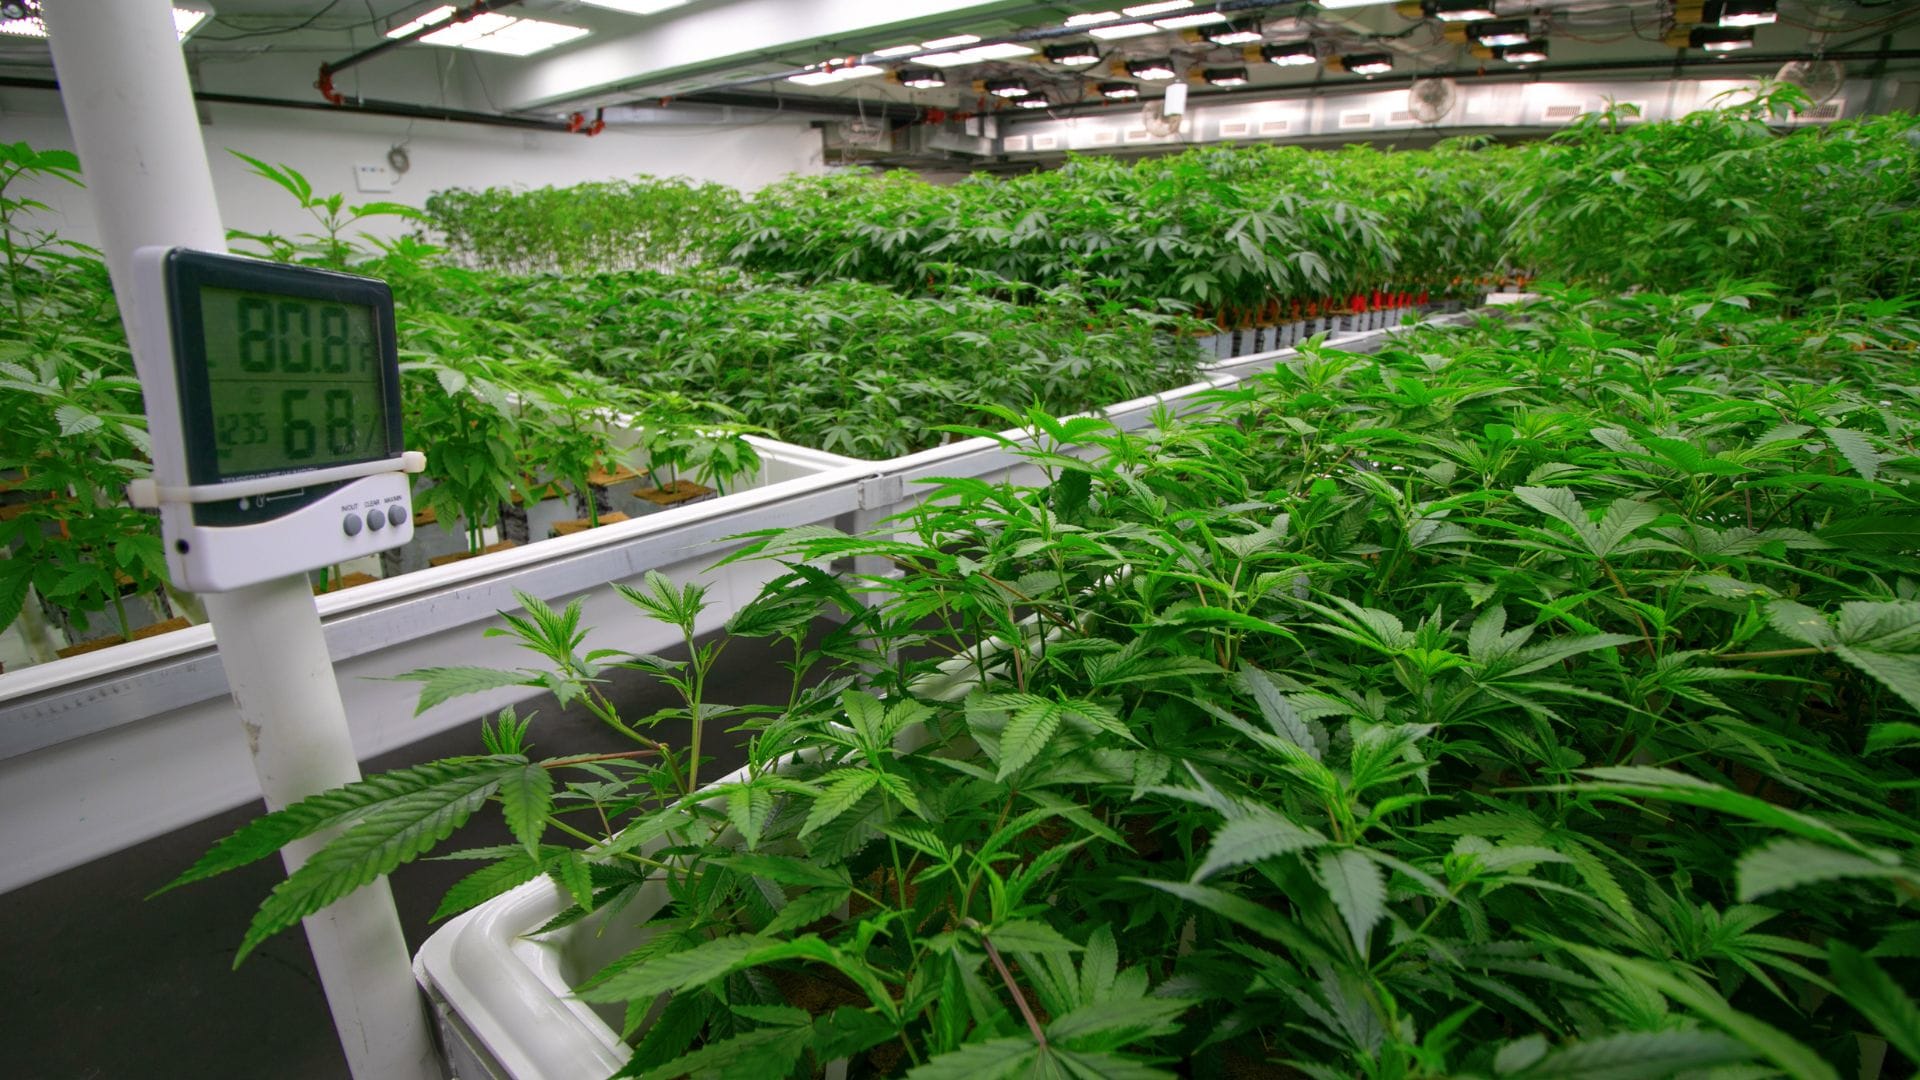
When it comes to temperature, when you are starting a seed or even a clone, most of these plants will want a warmer environment, but some phenotypes will prefer a cooler environment. Knowing a little about the history of your strain helps when it comes to this issue. For example, you may have a line bred from parents that was adjusted more for a cooler environment, such as 68° F. If you know the phenotype likes the cooler environment when trying to get it to grow from seed or clone at a more tropical temperature, it will only slow plant growth, and may even cause drooping.
As the plant starts to mature, this is where the temperature will need to be changed periodically. Most plants will want the temperature to get slightly warmer over time, by upwards (and sometimes a minimum) of 10°, plus or minus. Temperatures tend to be combined with relative humidity.
Relative humidity (RH for short) is almost always coupled with temperature. When you research starting a cannabis plant, you will see recommendations for moderate temperatures with high humidity. This is because, when starting a seed or a clone, the plant has no roots established to draw water from. When it comes from the seed, the cotyledon leaves will draw from the moisture in the air, allowing the plant to “drink” water and keep hydrated.
In the instance of growing from a clone, it will be the leaves that were formed when the clone was a part of the main plant. In both situations, they will do this until they have a root system that they can use to draw water from. Once the plants have a decent root system, keeping humidity levels high will go from a positive to possibly a more negative environment. This is why most cultivators will lower their RH to 60% ±. Doing so helps keep the plant growing at a decent pace but will also prevent contagions that will hurt the plant. Most will attribute the combination of these two to what is known as vapour pressure deficit (VPD).
The final part of the environment that you need to maintain is airflow. Airflow can be important since that will help strengthen your plant’s stalks, making a better highway for nutrients to travel inside the plant. When it comes to cannabis seedlings or clones, avoid having too much airflow in the form of fans since young plants are in a fragile state. Strong winds can damage the plants, leading to slow growth or even death of the plants themselves. Once you have established a healthy root system, adding a slight breeze will help strengthen the main stalk, allowing for better nutrient flow, which facilitates growth. As the plant grows and matures, you can increase the flow, and some plants will enjoy it. But, again, for others, it could be detrimental to them.
How Lighting Conditions Impact Your Cannabis Growth Speed
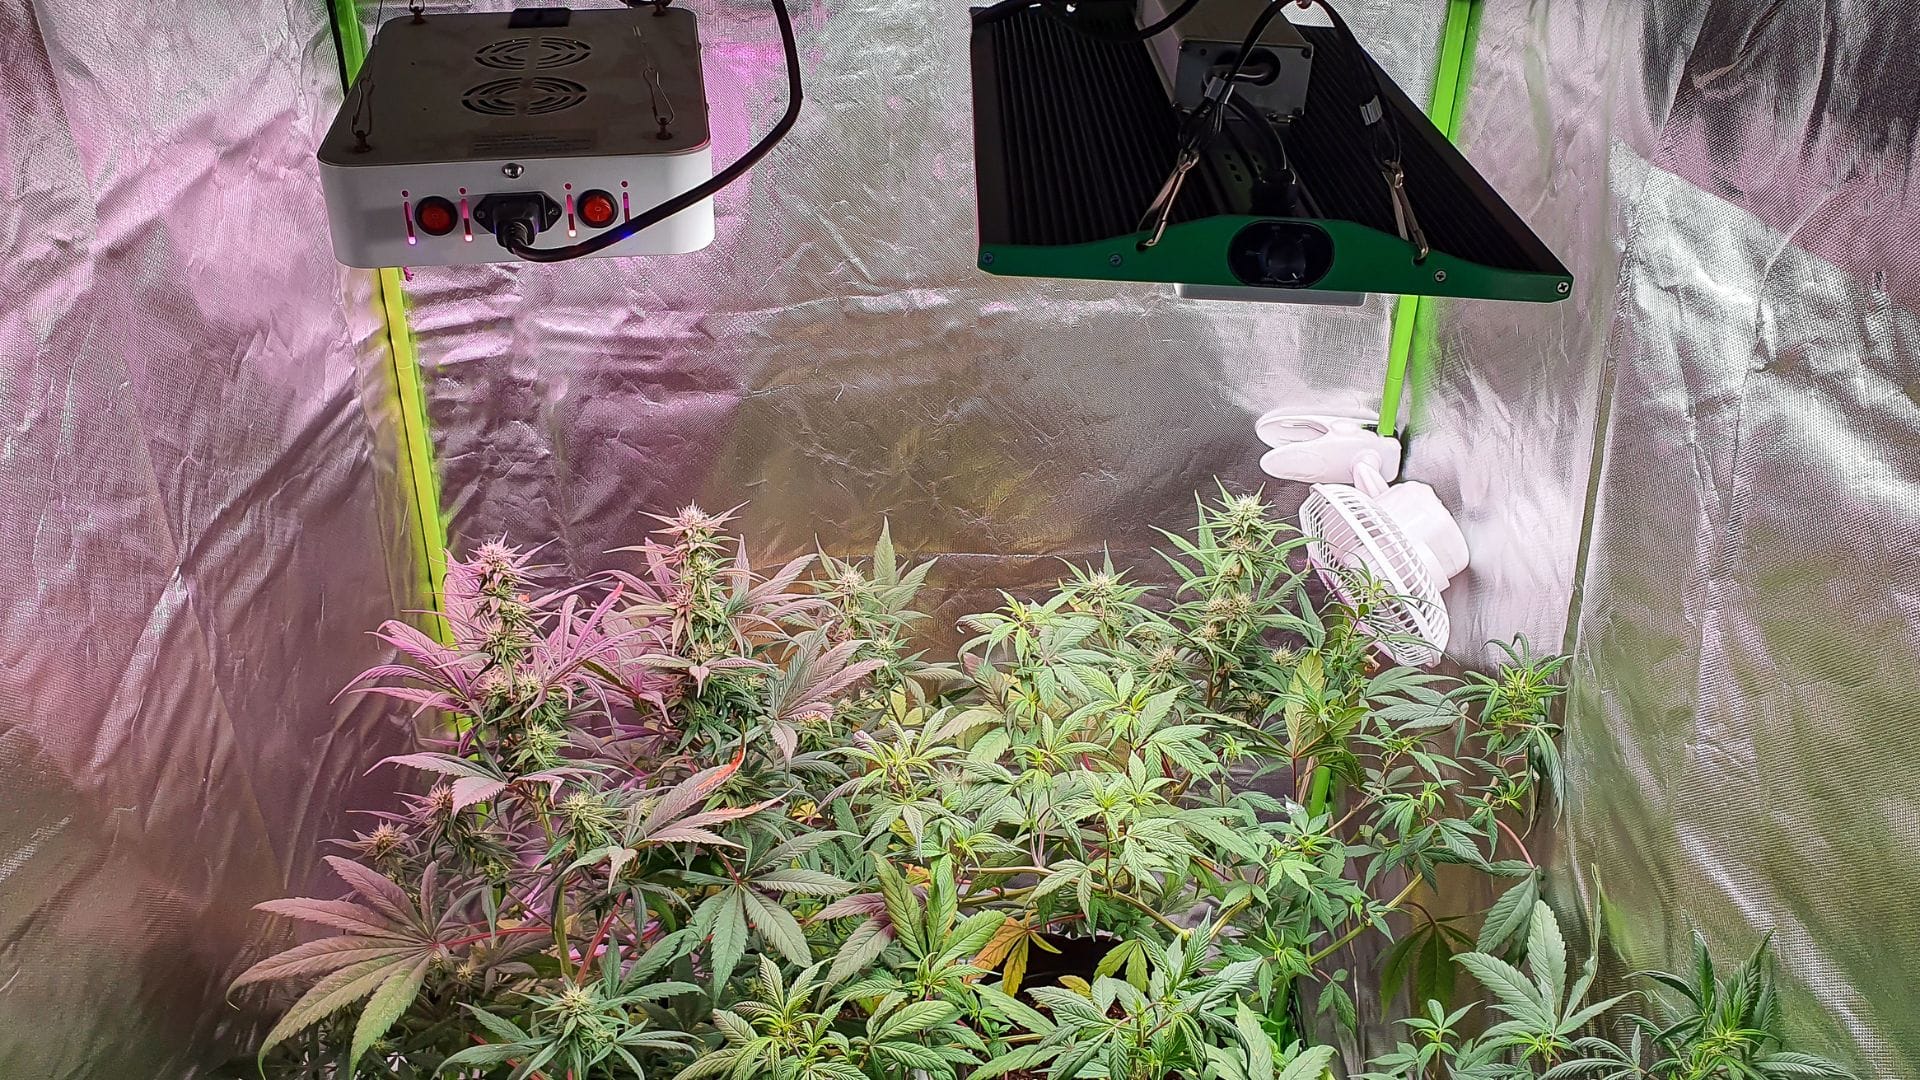
Lighting is on par with the environment. Like the environment, depending on the stage of life the plant is in, you will want to have a certain amount of light being produced. There are a couple of things to know about lights as you grow. The first is the area the light covers during which stage the plant is in, as well as the intensity of the light per stage. Let’s break this down:
When you choose a light, it’s best to know how big an area you have. A great example is if you bought a 4ft x 4ft tent. When looking at grow lights, if you plan on filling the whole area of the grow room, avoid buying a light with a vegetative light area of 4ft x 4ft, but a flower light area of effectiveness of only 3ft x 3ft. To fill that 4ft x 4ft area with flowers, you would need to have that light at full power, and it still may not be enough light to supply the plants.
Nowadays, most lights have a way of adjusting brightness and intensity. So, for the exampled light, your light will be set to 100% before you even flip into the flowering phse. The opposite can also be true - you can have a too-strong or too-big light, leading to burning and leaching. Some growers opt to go one size up from their grow space. Keeping to the example from before, getting a light that has a veg area of 5ft x 5ft and a flowering area of 4ft x 4ft will help you keep the light intensity at a level your plants like.
When you have found a good light and get it hooked up, you now need to consider the intensity of that particular light. Your light will probably come with a chart or instructions on the range of intensity you want to set your light to. Setting the light on too high an intensity while the plant is in the seedling stage can cause burning and stagnant growth. Also, suppose you have too little light when flipping the plant into the flowering stage. In that case, this can cause the plant to stunt in growth during the stretch and when the plant is trying to form bud sites for the flowers. Use this guide to help you.
Combining this with the light coverage area could also save you energy since you may not need to put the light at 100% in the flowering cycle. It’s best to know the size of your grow tent or garden, choose the proper light, and have it in the appropriate setting. If you notice your plant is stunting on growth, and you know it is more than likely due to the light, you may need to increase the power unless you are noticing burning on the plant leaves. In this case, you need to decrease the intensity.
Nourishing Your Plants: The Significance Of Proper Nutrition And Fertilizers
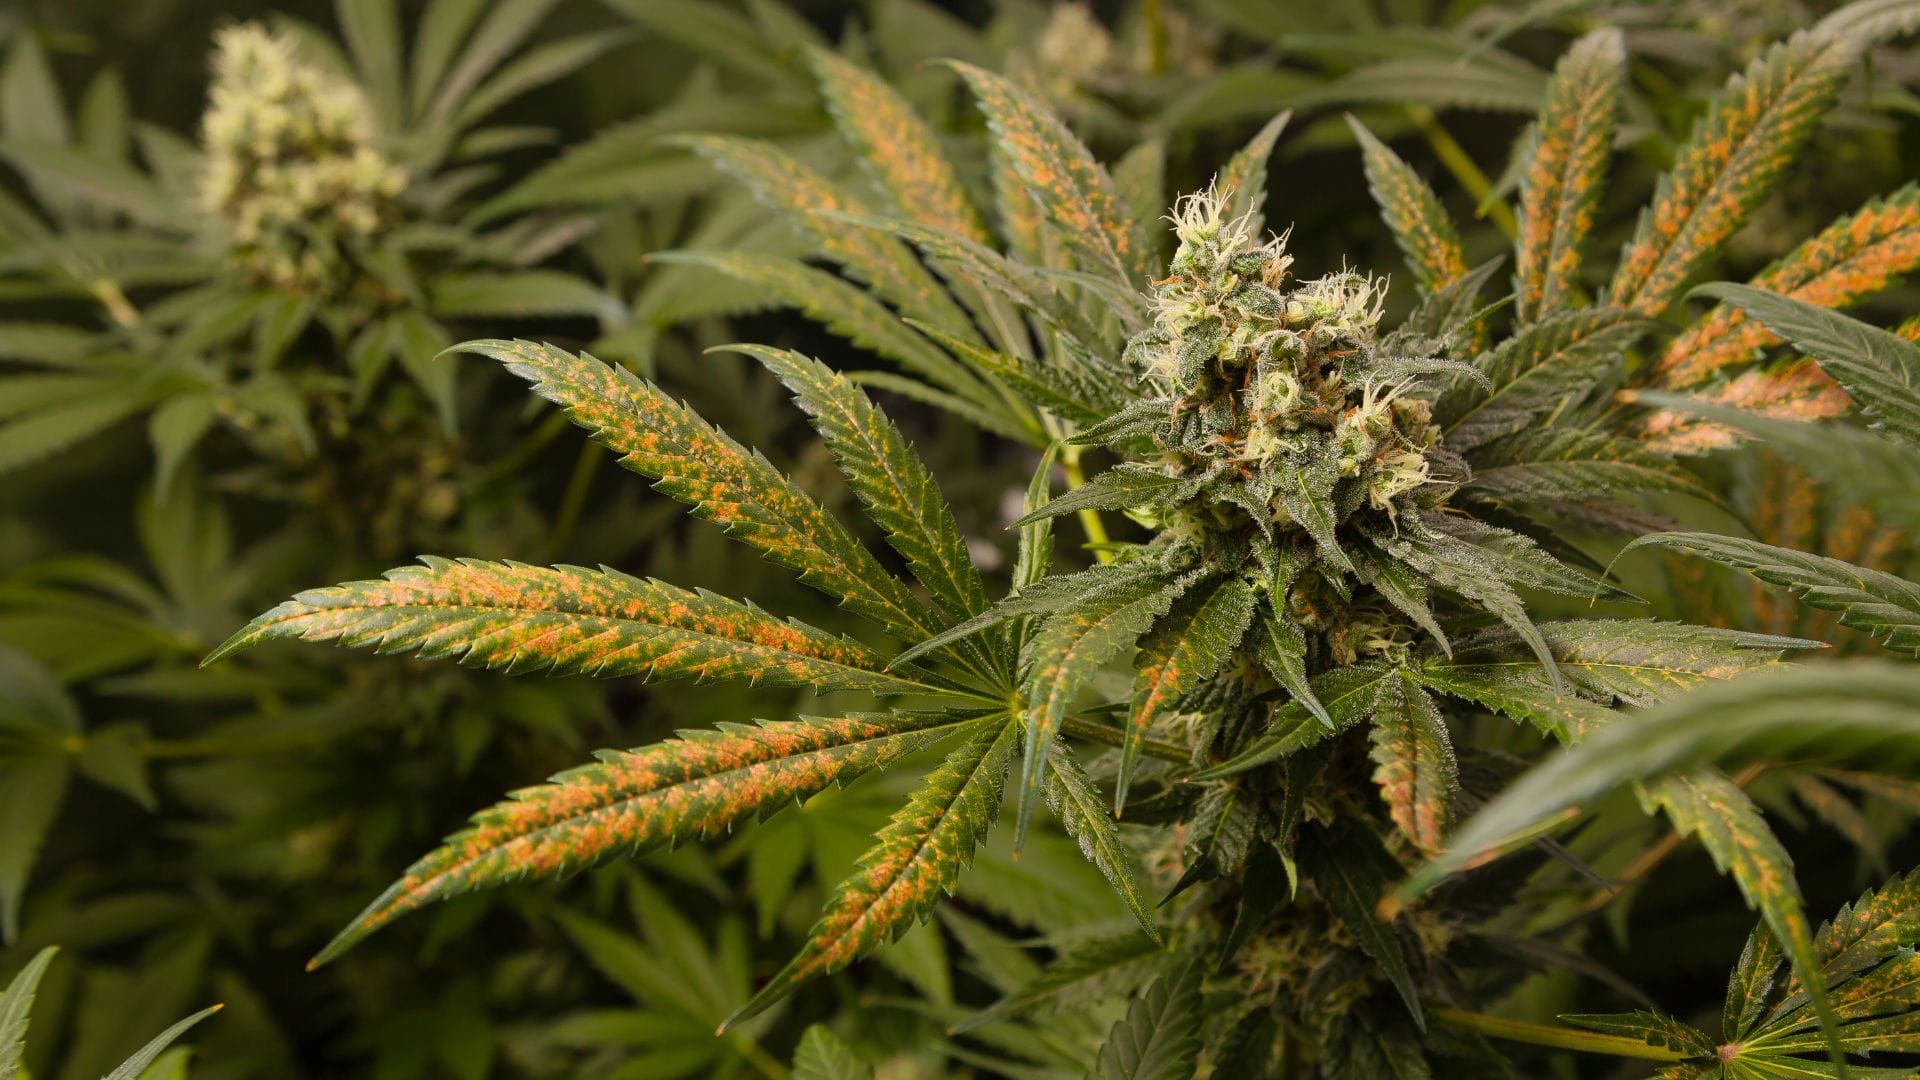
Inadequate nutrition is one of the most common reasons for slow cannabis growth and a stunted plant. If you’re in hydroponics, there are different issues you can run into, such as nutrient lockout, under/overfeeding, and even overwatering. If you are in organics, things can get even slower since you have an approximate two-week period for things to break down. Make sure to learn about deficiencies and toxicities in your grow medium and how they present themselves.
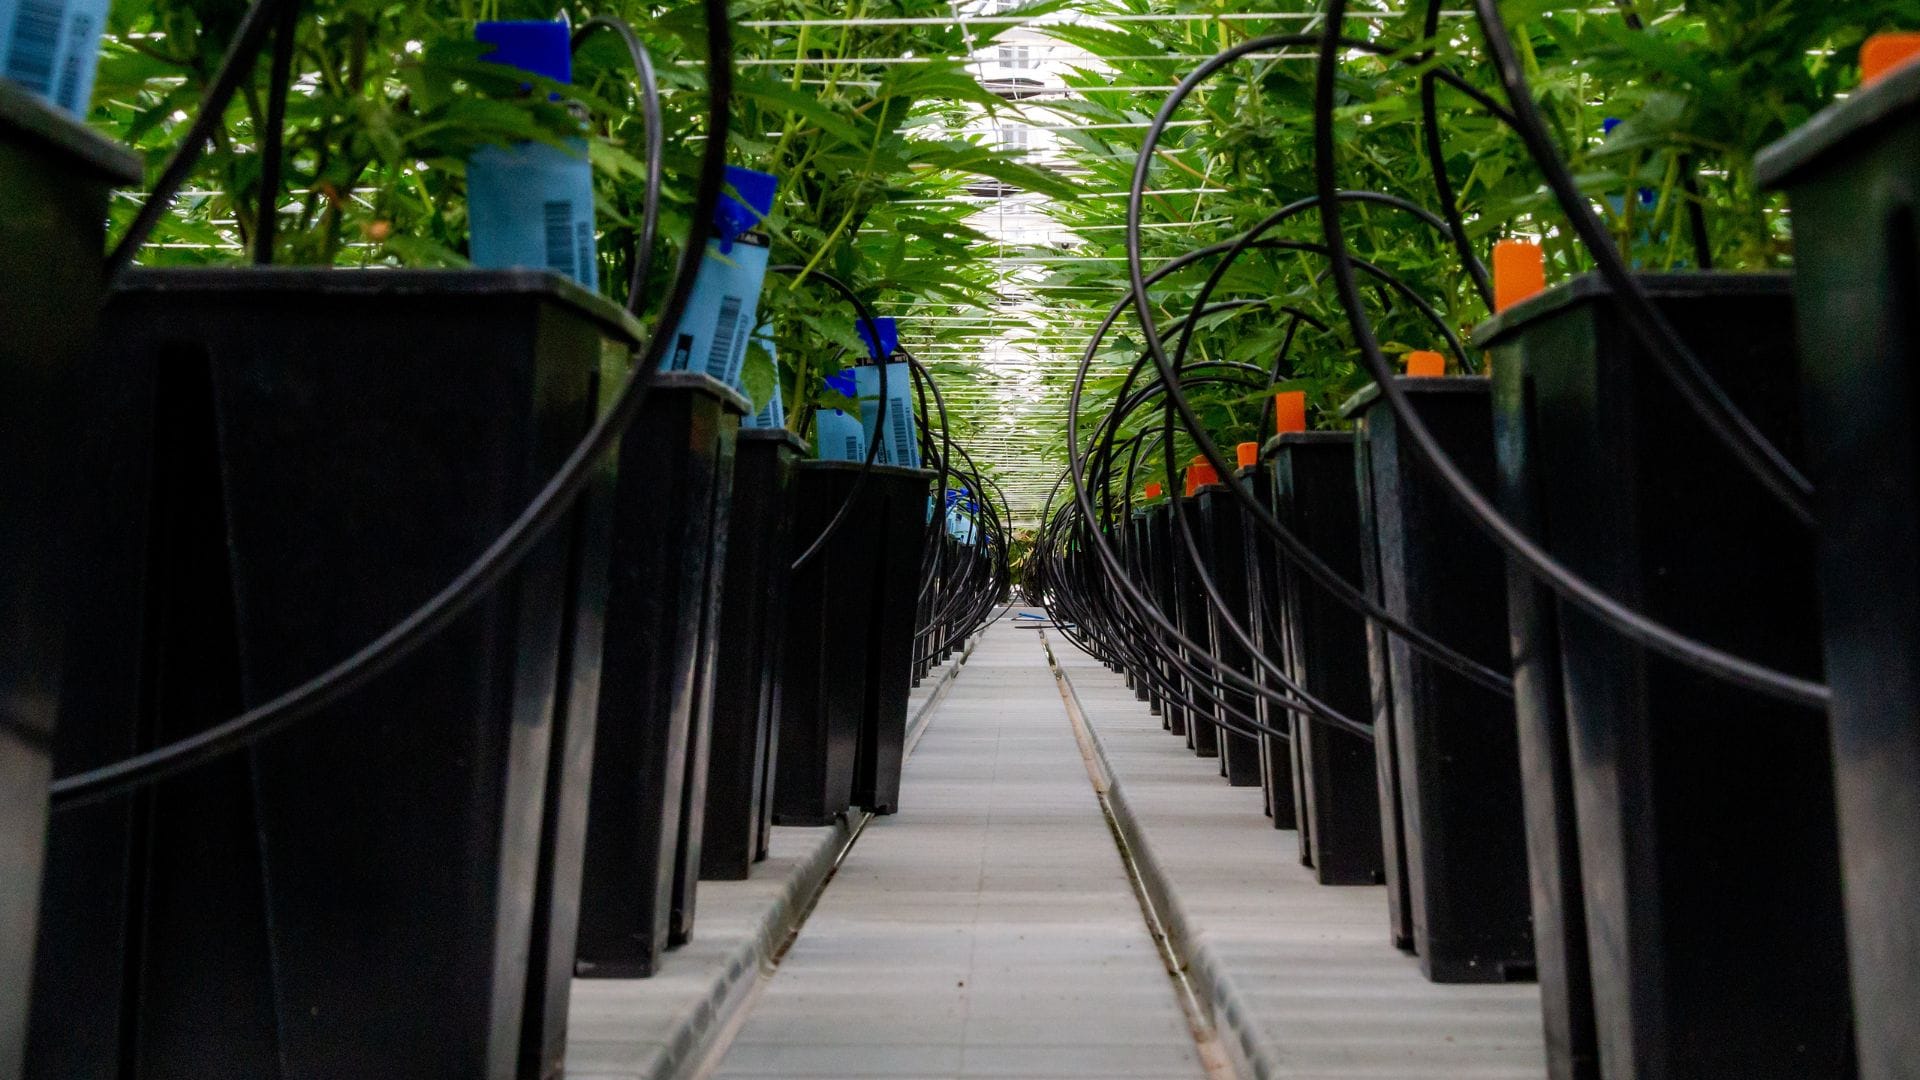
Regarding hydroponics, there are many variations, such as deep water culture (DWC), nutrient film technique (NFT), buckets with sprayers, and even tubes with continuous water flow. All these usually use a form of hydro nutrient solution. When feeding your plants, you must mix water with the solution, making sure that you PH your water afterwards and that your total dissolved solids and even your electric conductivity are correct.
Getting all this equipment right away is unnecessary since reading the bottle and halving the dilution rates will give you a good starting point. This allows you to adjust better, and if your plant isn’t getting enough nutrients, you can slightly increase the amount of nutrients during feedings. At the same time, in most cases, if it is too much nutrient solution, it shouldn’t be to the point of nutrient lockout, instead, you’ll just receive a little burn and not have to sacrifice plant growth. There is a plethora of nutrients out there to choose from, so carry out research and even ask around those who may have used them and how they achieved success.
An advantage of hydroponics is if you notice a deficiency, for example, an iron or magnesium deficiency, you have an easier time correcting the issue. If it’s only a slight deficiency, you can just add a little extra iron to your next feeding. If it’s a significant deficiency, you can mix a small solution with just the iron and fix it from there. Conversely, if you feed too much and notice an exponential number of burns that look like multiple deficiencies at once (or even toxicities), you can carry out a flush. This involves emptying the system of all nutrients, starting with the solution, but at a fraction of the dosage.
This will prevent the plant from entering what’s known as “lockout,” where the plant stops taking any or all food. This would require a long period for the plant to recover if it survives. Organics have it both easier and more challenging than their hydroponics counterparts.
In organics, simplicity is often best, so stick with a basic soil mixture. This means the plant tends to feed itself when and how it needs to. The biggest drawback here is that you can easily overwater soil. Overwatering and underwatering look very similar; they will both result in droop, but underwatered plants tend to have more brittle leaves, whereas overwatered plants will still have soft leaves. One of the most complex problems with organics is when you encounter deficiencies. The best example is calcium deficiencies since they are more common with soil growers.
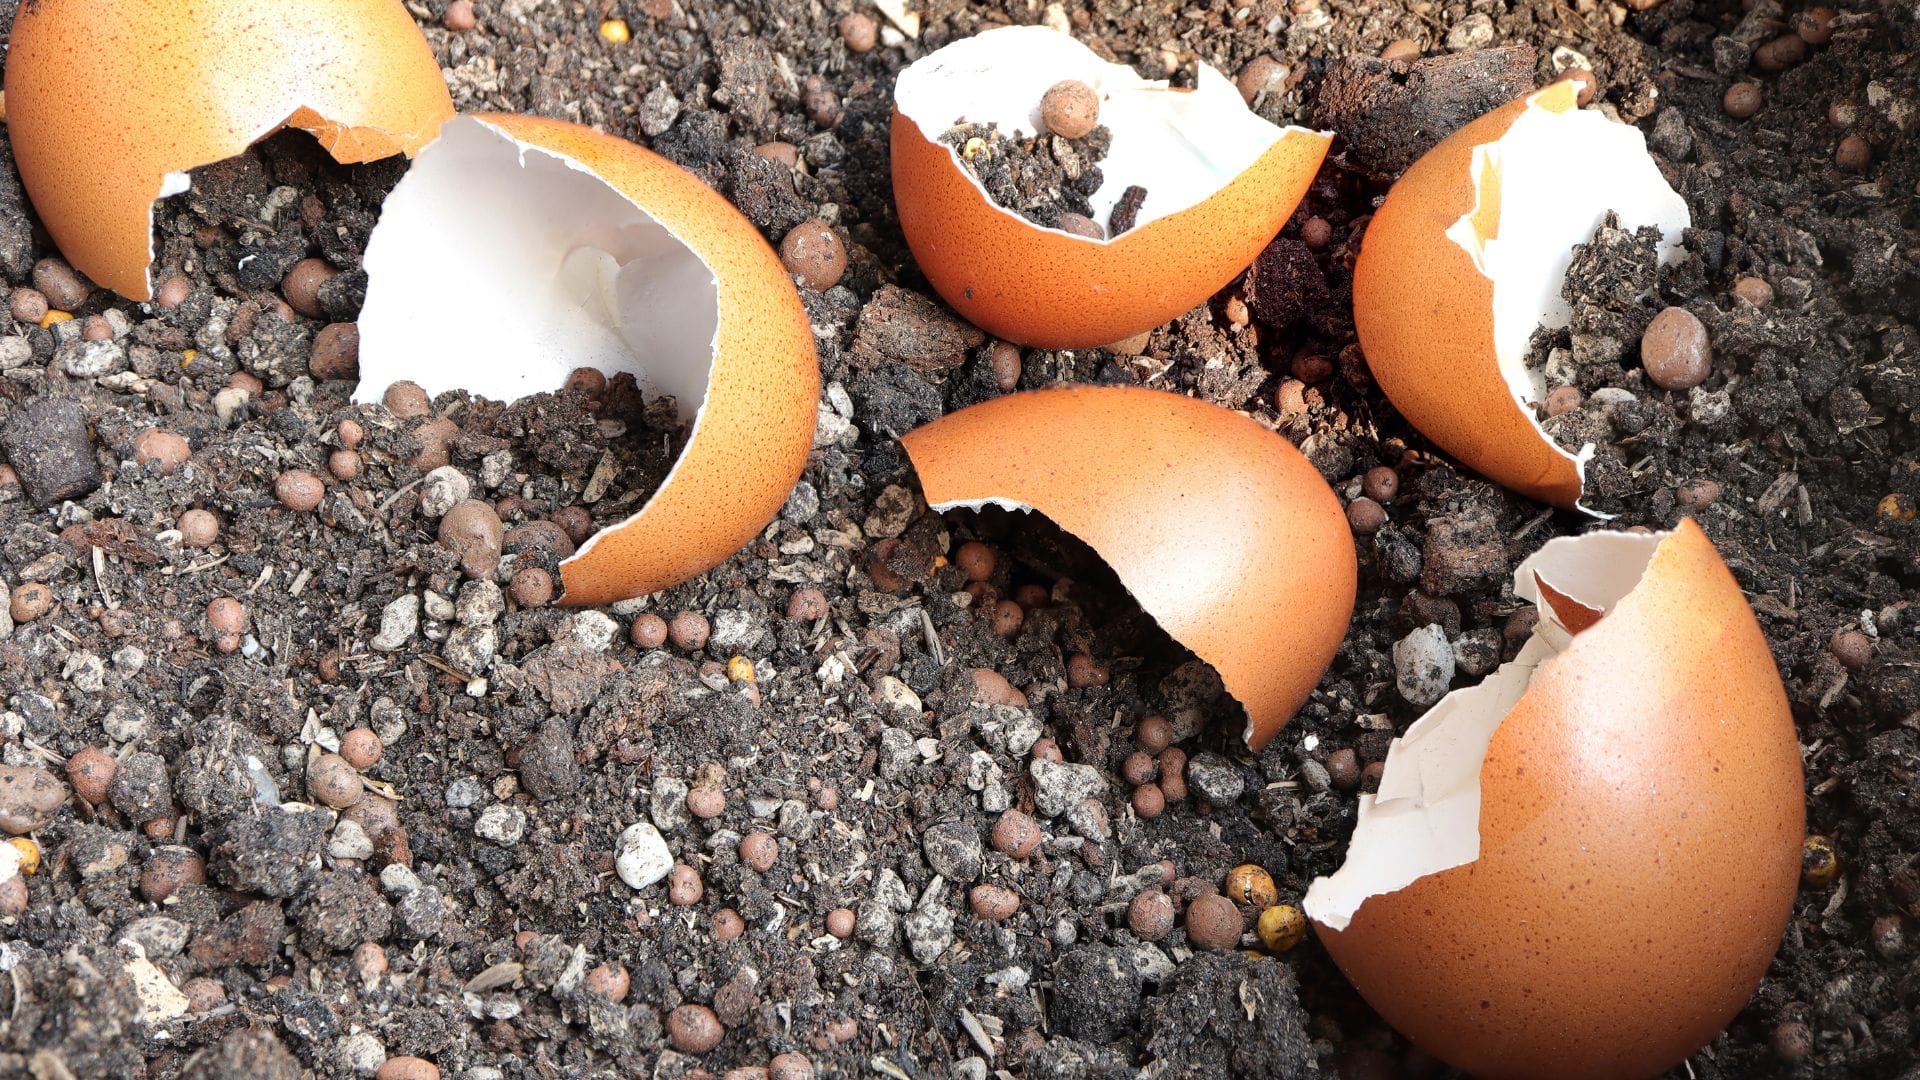
When adding a calcium source, you must wait roughly two weeks for that calcium to start breaking down. Worms will cut that time in half, but that’s still time you must spend waiting for recovery. There are things you can add to give the soil a temporary boost. A standard boost is soaking vinegar and eggshells. Mix that solution in with water, and you’ll have a quick fix until the calcium you added starts to break down.
When it comes to overfeeding your soil (the reason I say soil is in organics, you aren’t technically feeding the plant, you are feeding the microorganisms in the soil to make food available to the plants), it will present itself more in toxicities as opposed to a lockout. You can still experience lockout in the soil, but it’s much harder to do. The most common toxicity is nitrogen. Other toxicities, such as swollen leaves and necrosis, will have a similar look. When you have this issue, the only thing you can do is wait. Unless you have something like a companion plant or cover crops, there is very little you can do to eliminate nitrogen or excess nutrients in the soil.
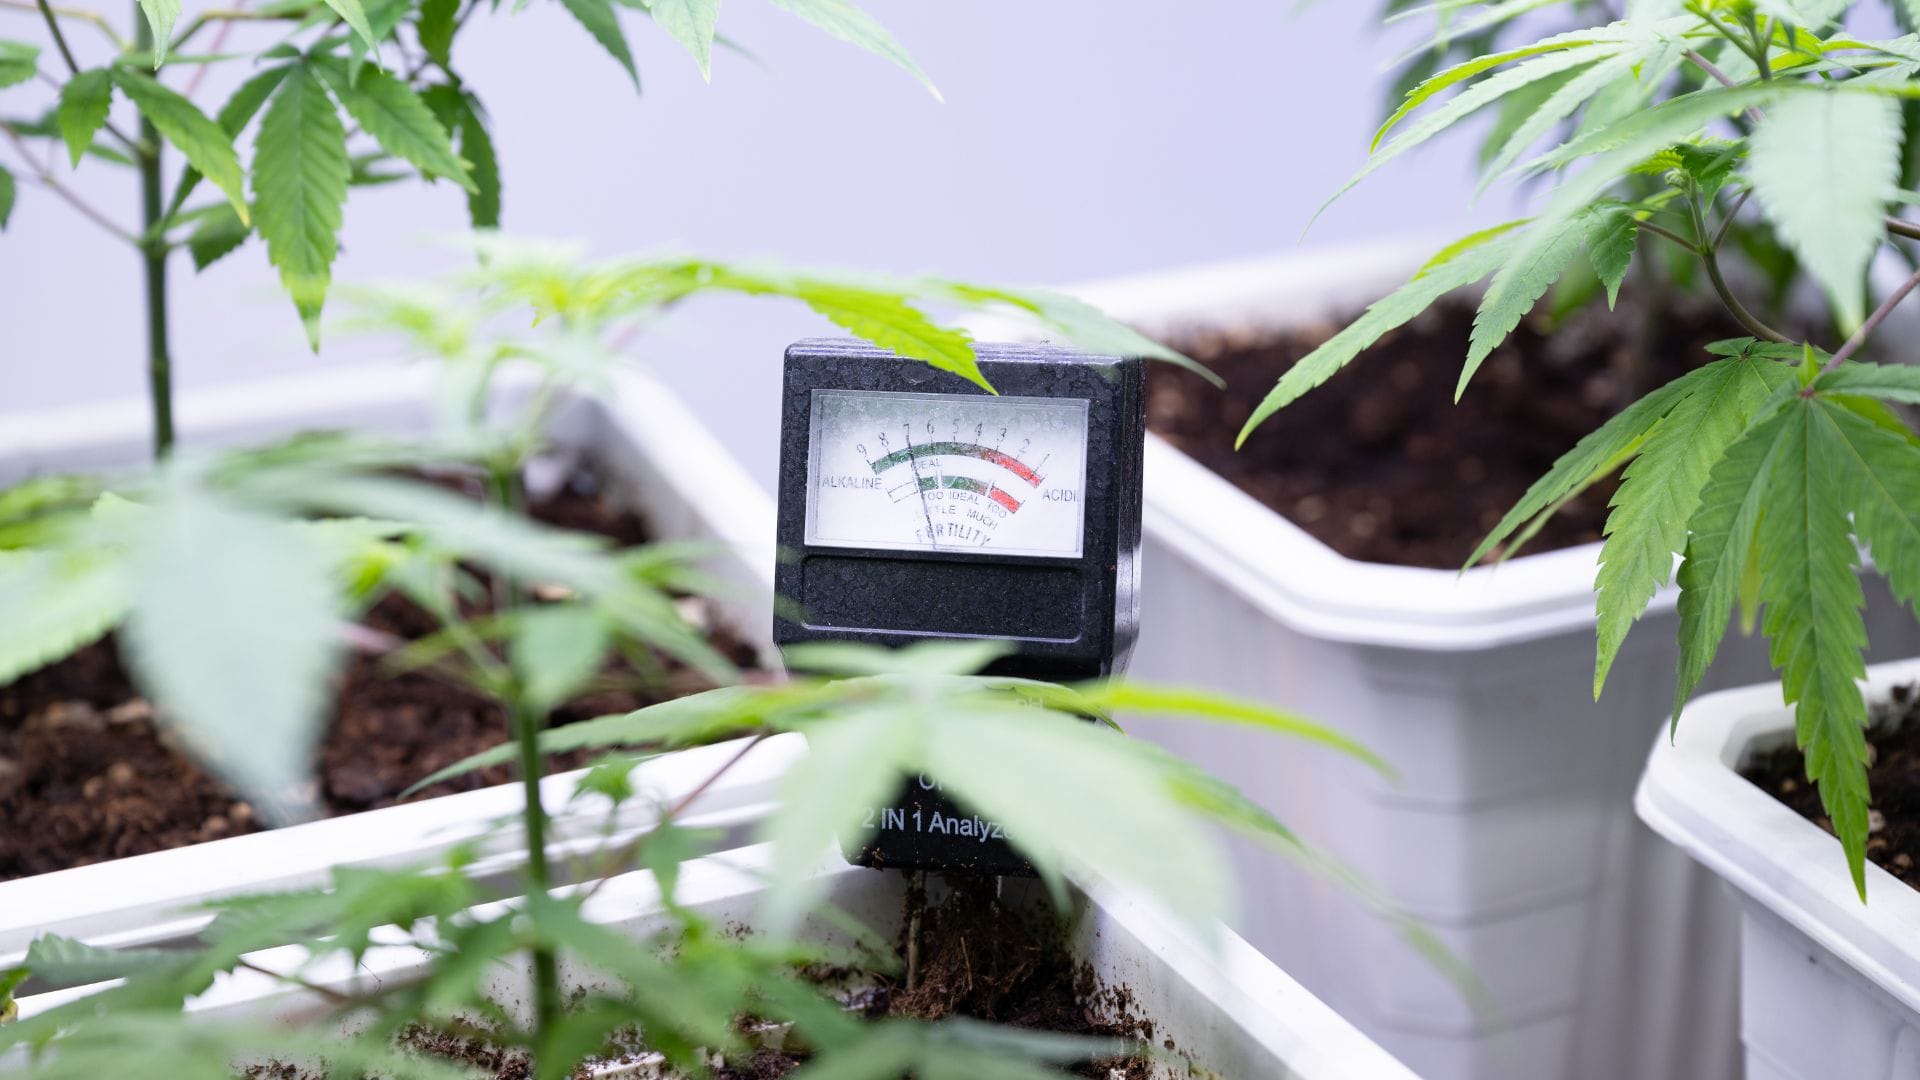
The best thing you can do is to take a pH sample of the soil and bring it back as close to neutral (7.0) as possible. This can be achieved by adding amendments with a heavy base component (such as baking soda or wood ash). If you need to lower the pH levels, use moss or coffee grounds. This will help take care of the toxicities sooner, but you still must wait for the breakdown to start.
Whatever growing method you choose, do some little research on identifying nurient deficiencies and soil toxicities. This will help you prevent slow growth from happening. It will also make your life easier for future issues. No matter how experienced you may be, you will occasionally encounter issues. A good phrase to remember is, “Be proactive and not reactive.”
Conclusion
When growing cannabis, many things can happen to slow down the growth of your plants. Good light and a healthy environment will be a great start to preventing plants from growing at a snail’s pace. Once you understand how light and the environment affect your plants, the next step is understanding how your plants obtain nutrients. This is where even more planning comes into play. Since there are so many ways to grow cannabis, it can be mind-boggling and intimidating to beginners. One of the best pieces of advice is to ask experienced cannabis growers. This will help you develop your skills and better understand how these plants grow and how to speed up the process.
