
The vegetative stage of cannabis growing is just one of many steps in the journey known as the plant's life cycle. This growth phase is the precursor to producing high-quality flower and should be respected as such. Although it could be said vegetative growth is much more forgiving than flowering, as you can play with duration etc., it’s still essential to optimise each step to ensure strong vegetative growth. This ultimately gives the marijuana plant the highest chance of reaching its full potential.
Vigour And Vegetative Growth
There’s a strong correlation between the plant’s ability to recover from various adverse conditions and the initial vigour shown by the seedling. In the study Cannabis Seedling Vigour Determines Mechanical Stress Recovery, conducted by Behr et al. (2018), the authors investigated the influence of seedling hardiness on the ability of cannabis plants to recover from mechanical stress. The researchers measured various growth parameters and assessed the plants' response to mechanical stress induced by controlled bending of the plant’s stems. The findings revealed a positive correlation between seedling vigour and the capacity to withstand stress exerted through bending.
Seedlings with higher vigour demonstrated enhanced recovery and resilience, exhibiting less damage and faster recuperation after mechanical manipulation. The study showed that true leaf emergence milestones were typically 5-7 days in the most vigorous plants. This milestone signifies the transition from the initial seedling stage to the subsequent vegetative phase proper, and staying within this time frame is a good indication of that initial high vigour.
For this article, we are covering everything prior to flowering and not staying within the defined vegetation stage, which starts after the first true set of leaves. This is because to ensure good vegetative growth, the seedling itself must be vigorous, as indicated above. We'll describe what happens and the conventional interventions and include pro tips that will facilitate a good vegetative stage of growth.
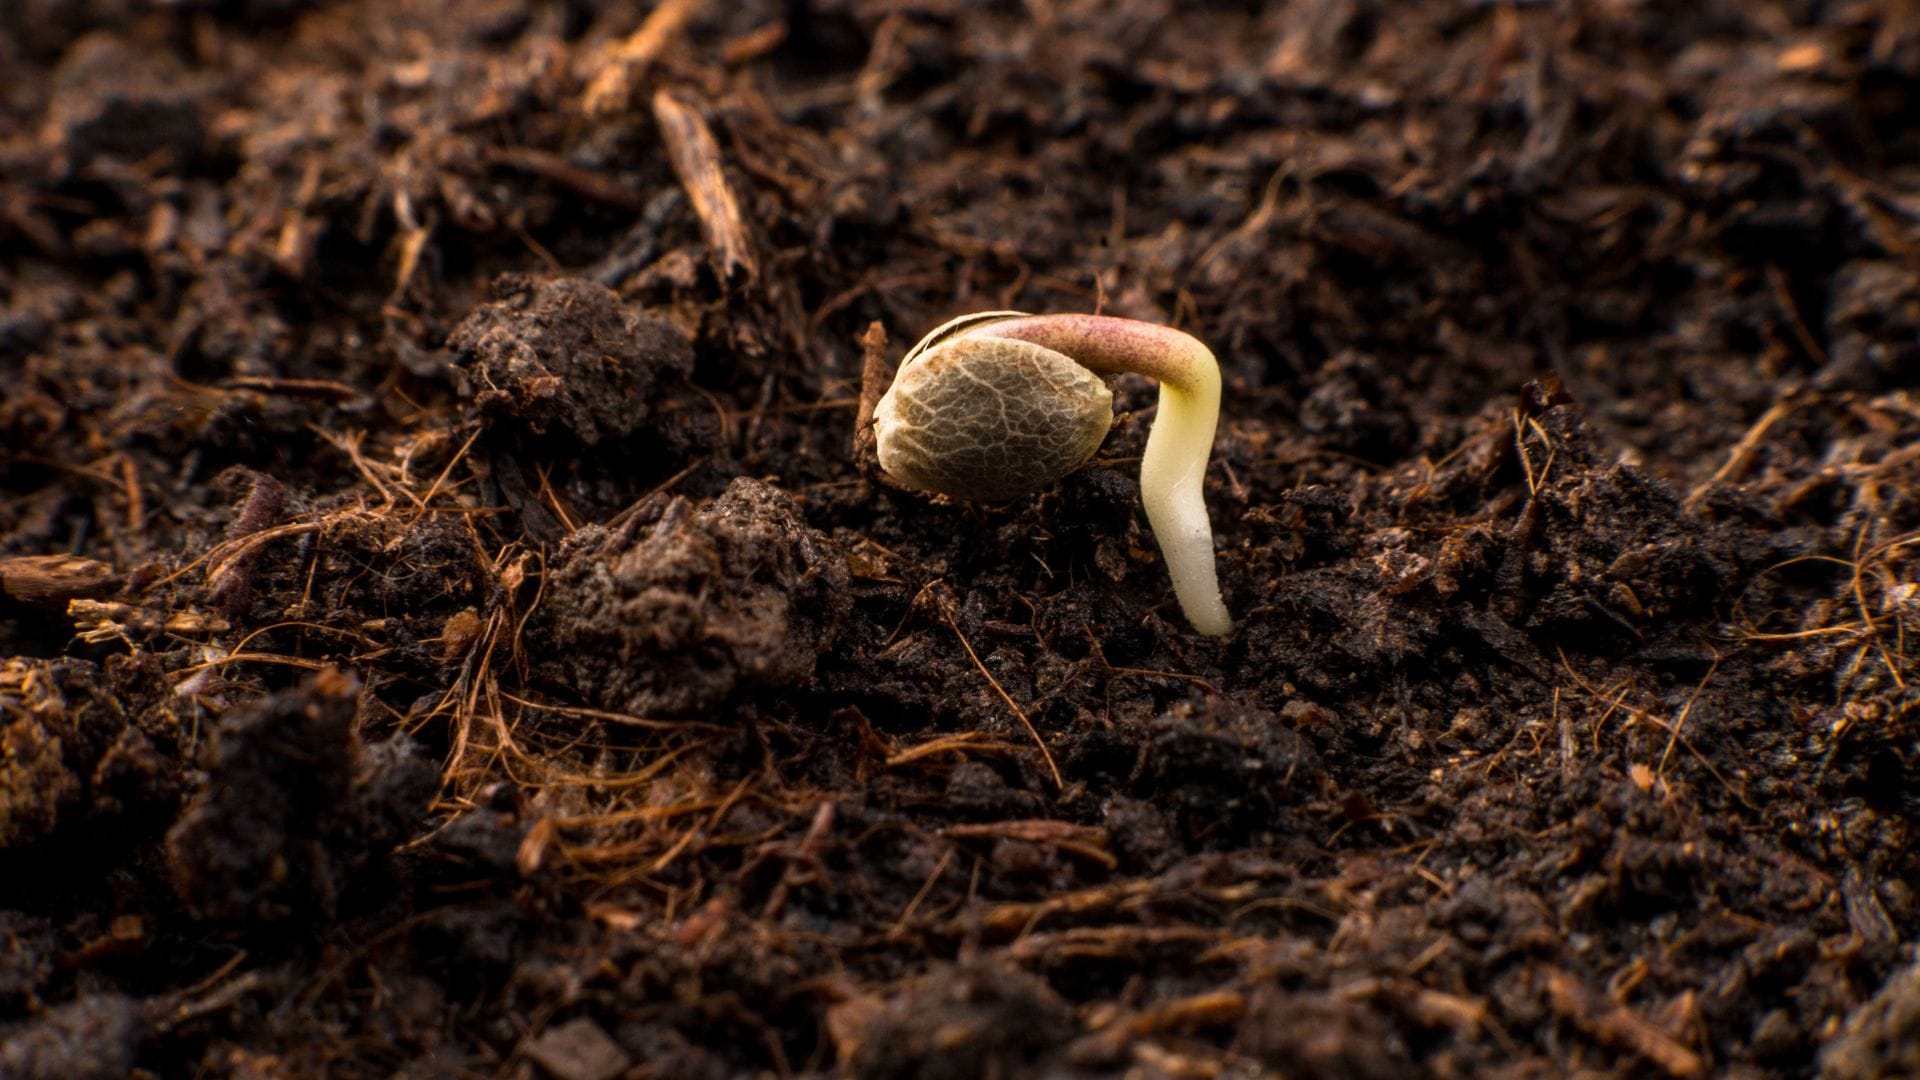
Step 1: Germination – Allow Up To 10 Days For Seeds To Germinate
What Happens
A cannabis seed, triggered by favourable environmental conditions, embarks on its remarkable life journey. Exposure to moisture softens the outer seed shell, and then the water penetrates and triggers growth/metabolism resulting in the embryonic root, known as the taproot, emerging. This initial stage sets the foundation for the plant's future growth.
Conventional Wisdom
To facilitate successful germination, start by soaking cannabis seeds in distilled water for 24 hours and/or transferring them to a moist paper towel or planting them directly in a seedling tray with a well-draining soil mix. Maintain a consistent temperature of around 70-80°F (21-25°C) and ensure proper moisture levels either by misting, using a humidity dome, or having it in a sealed container kept indoors.
Pro Tips
Older seeds may require more extreme germination methods. There are a few interesting interventions if you struggle with a seed lot.
1) Presoak in 1-3% Bleach or 12% Hydrogen Peroxide instead of water for 16-24 hours.
2) Scarification of the seed coat, i.e. damaging the outer coat to allow easier access to water. This can be done by putting sandpaper in a small container, placing the seeds inside and shaking. Only shake 2 or 3 times.
3) Cold Stratification. This is achieved by storing seeds at low temperatures for weeks before germinating. It can be carried out wet or dry depending on the method deployed. This method essentially tricks the seed into thinking it’s gone through a winter period.
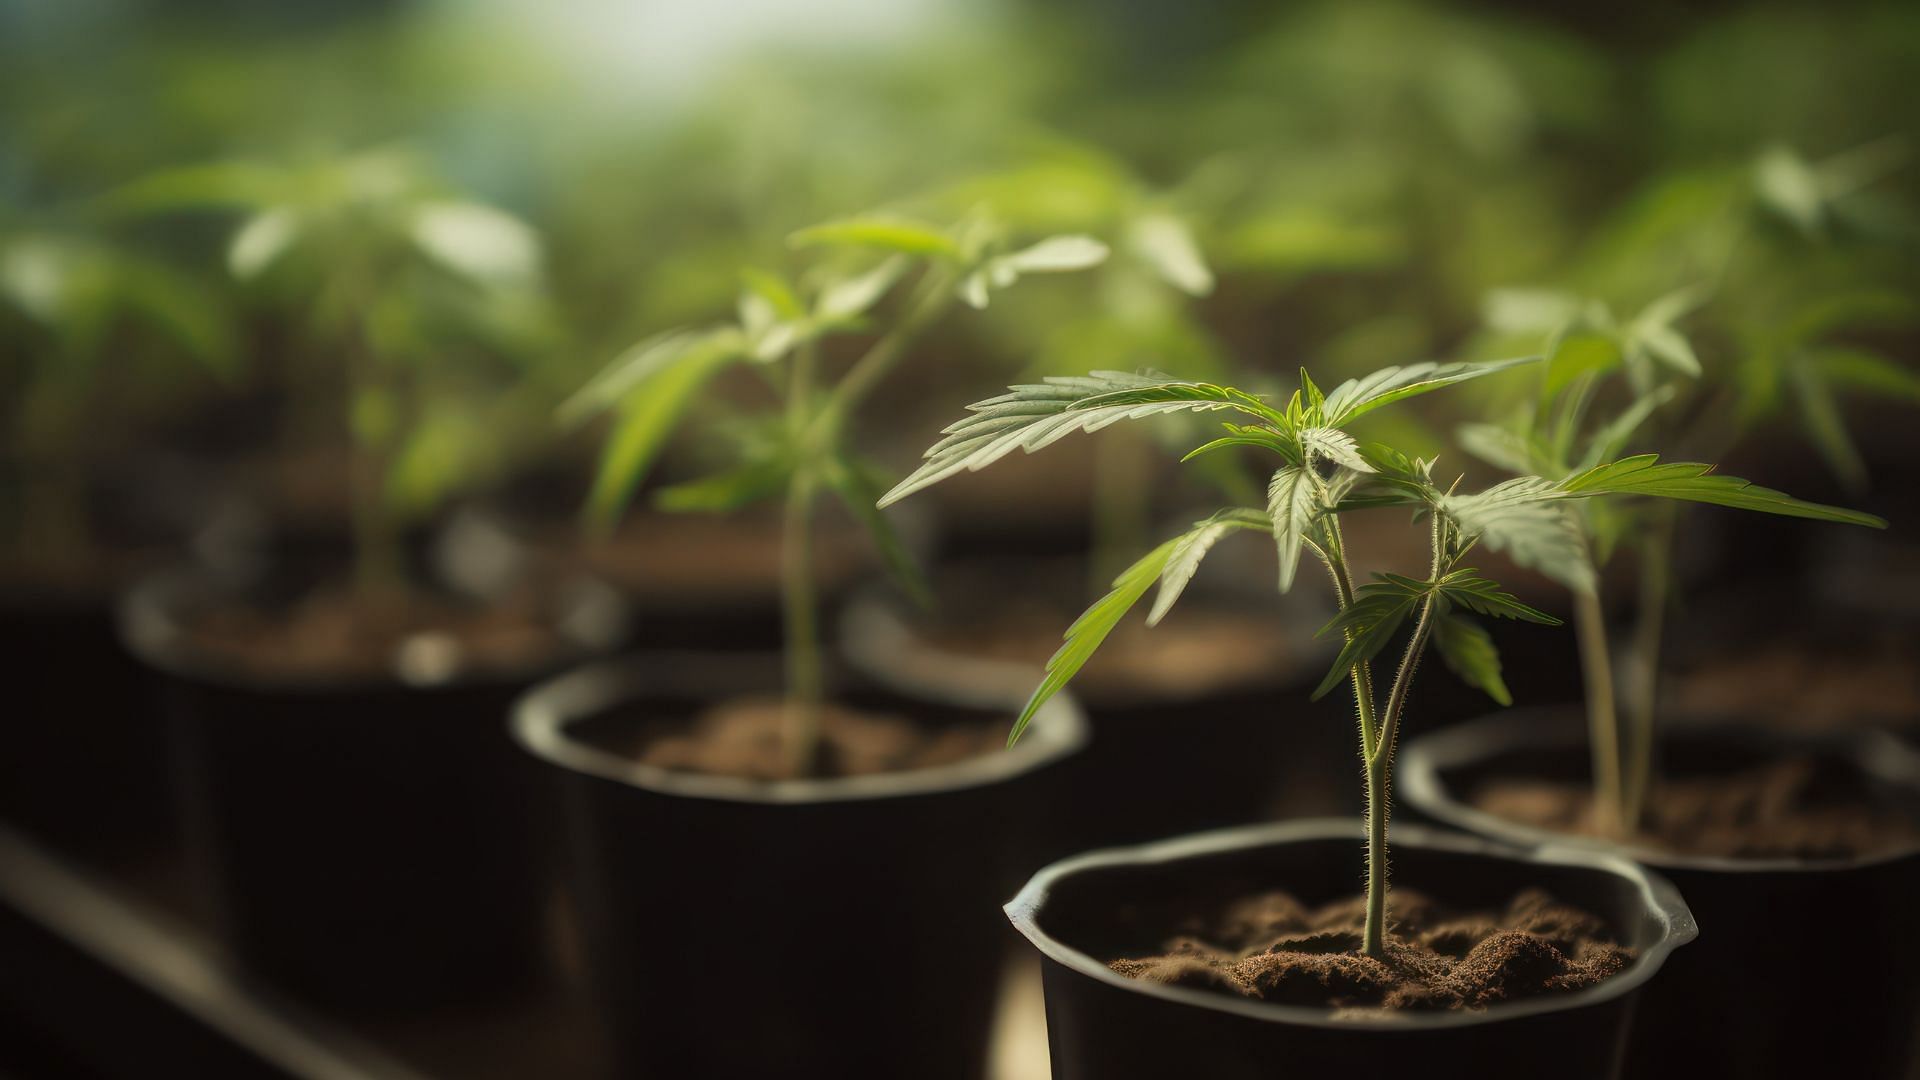
Step 2: Seedling Establishment – After Emergence, It Should Take Only 12-36 Hours For The Plant To Show Its First Leaves - Cotyledons.
What Happens
With the emergence of the taproot, the seedling embarks on its ascent. Cotyledons, the first leaves to appear, unfurl and capture life-promoting light. As they sprout, they develop into the plant's primary source of energy capture, utilising the light-harvesting process, photosynthesis.
Conventional Wisdom
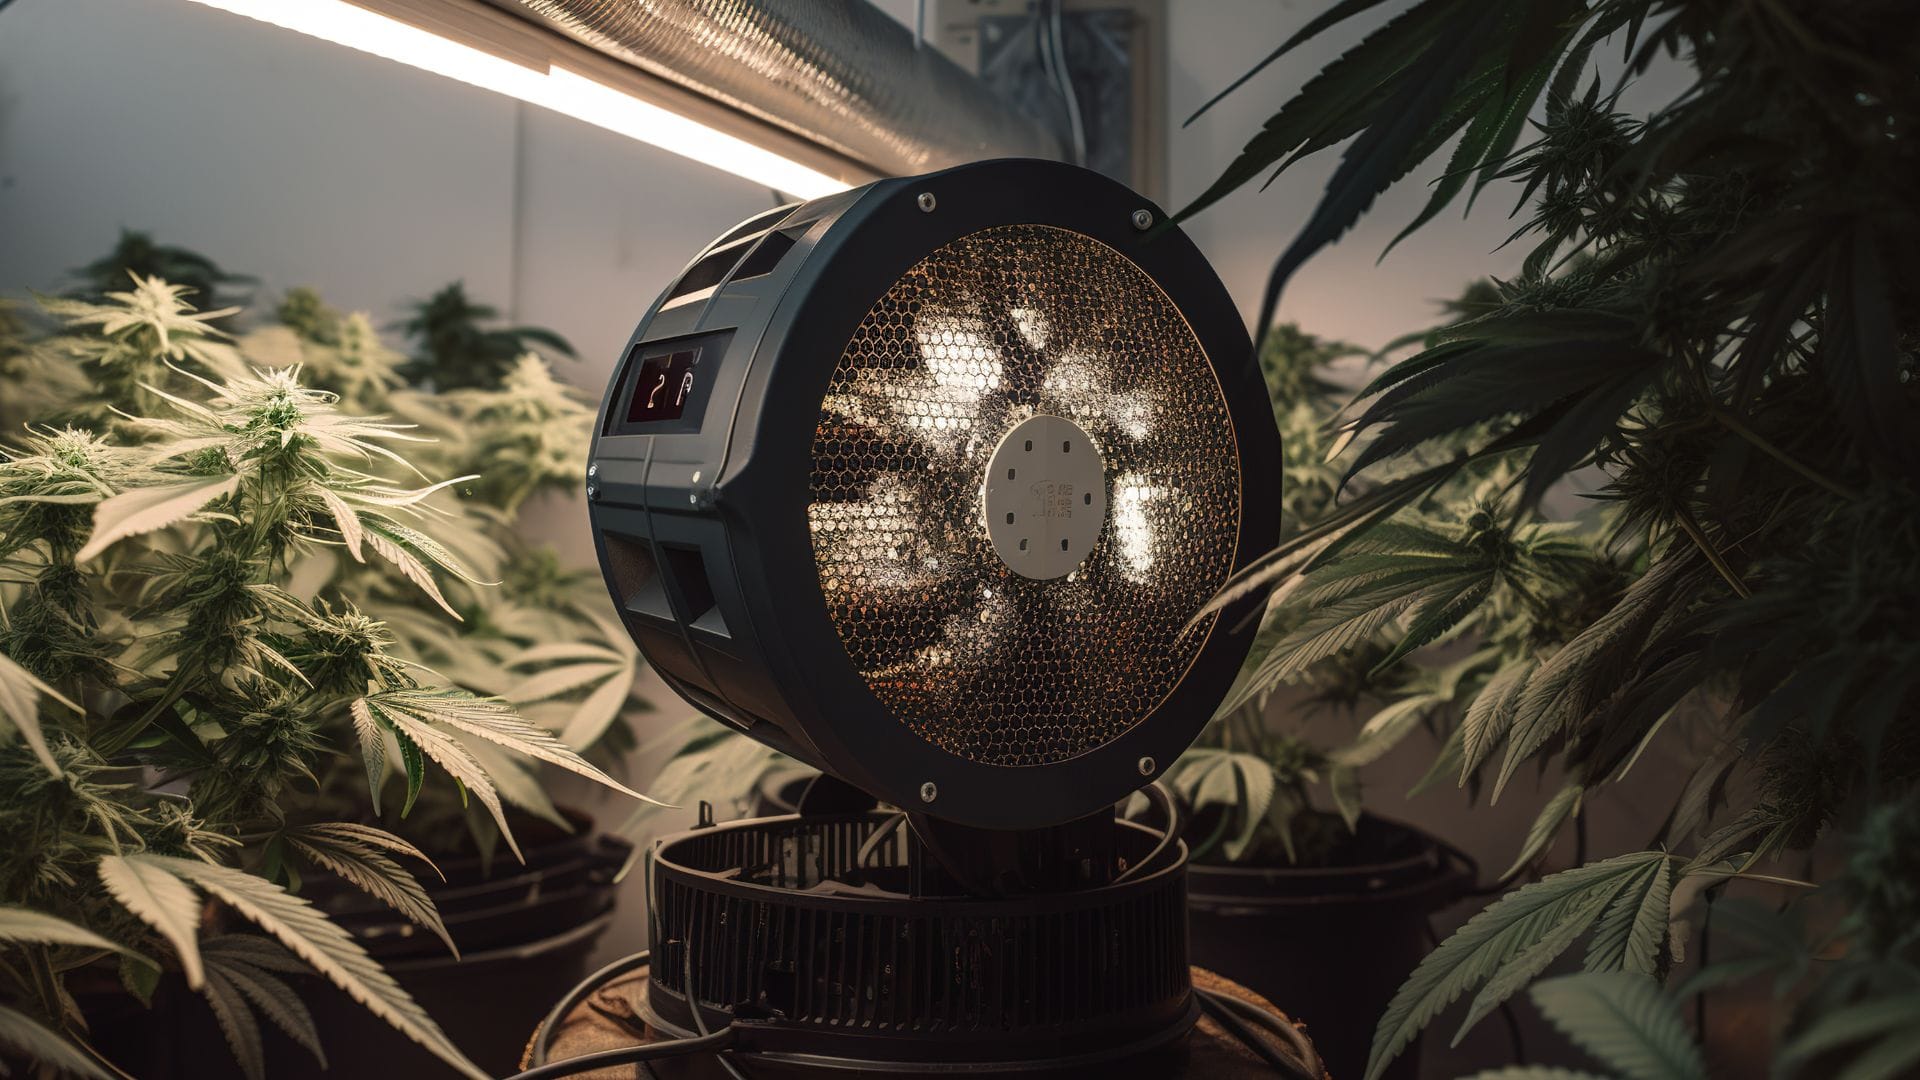
Once the seedlings have emerged, provide them with adequate light. Use fluorescent grow lights or LED lights positioned at the correct distance above the plants (depending on the light). Maintain a light cycle of 18-24 hours per day to promote healthy growth. Maintain humidity and carefully water the media if needed, trying not to overdo it, which can lead to damping-off or root rot.
This can change depending on whether you’re cultivating photoperiod or autoflowering varieties, so ensure your light schedule suits your cultivar. An autoflower plant automatically enters the flowering stage after a certain time.
Pro Tips
Try to maintain the growth rate, as any pause or delay - in potting up, for example - can cause stunting. The balance between light intensity and distance to light is essential to avoid over-stretching, for instance, over-lighting or confusing your hours of light. These cotyledons are not high-light-intensity-ready, so be careful with the light. Less red in the light spectrum is good for this stage of cannabis growth and the next.
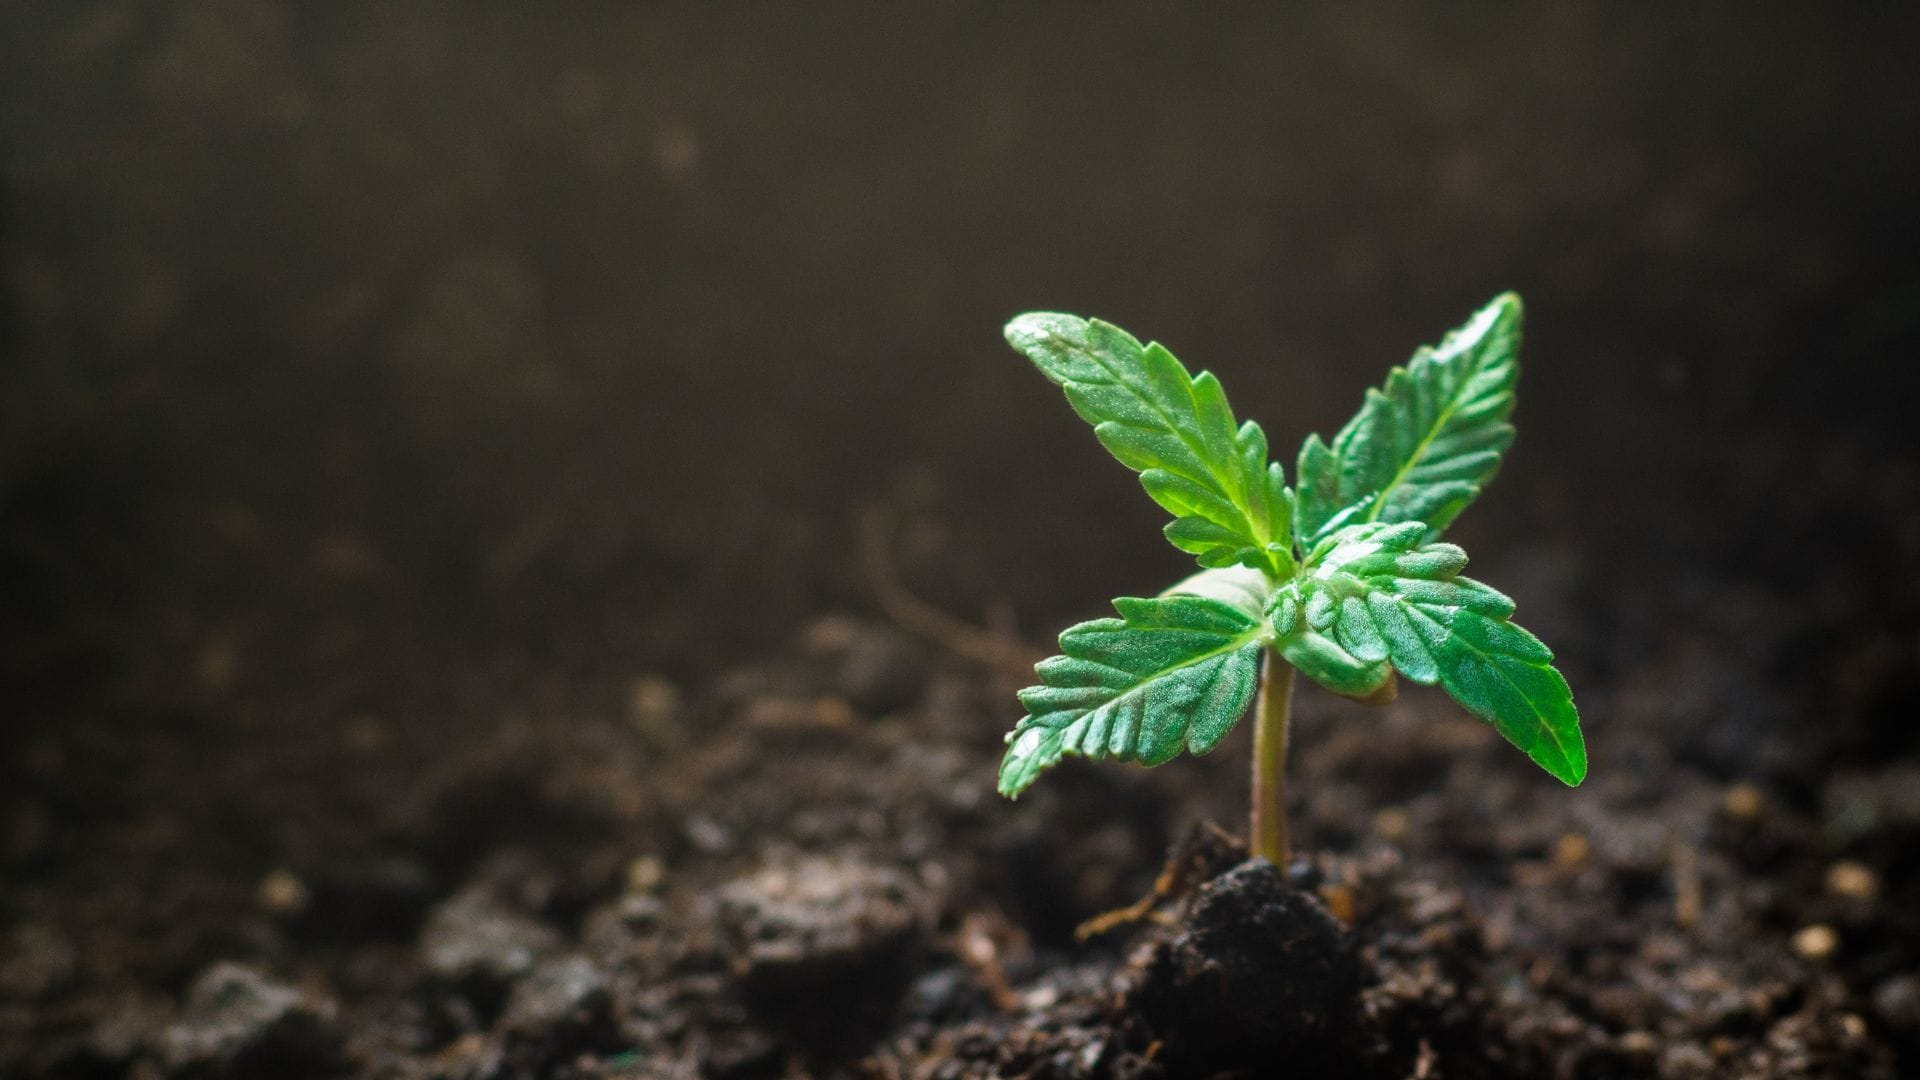
Step 3: Leaf Development – Usually Within 1 Week From Emergence (+/- 3 Days)
What Happens
As the seedling grows, the true leaves emerge below the cotyledons. These iconic fan leaves increase in number as the plant develops, maximizing its capacity to harness light and convert it into energy. As the seedlings progress, the true leaves will replace the initial cotyledons.
Conventional Wisdom
Ensure sufficient light intensity by adjusting intensity or switching to more suitable lights. Consider using gentle fans to simulate a light breeze, which strengthens the seedling’s stems, making it more likely to hold its own bud weight in late flower.
Pro Tips
Potting up around this step is advisable. If growing in soil, use the dry-back technique to encourage rapid root growth in the next pot. This involves allowing the media to partly dry out after the initial watering in. The roots are then encouraged to go looking for moisture, which helps expand the root mass into the new pot. Different growing mediums have their own processes, so ensure you’re aware of them as you start. Beware of overwatering.
Step 4: Stem Elongation – Will Continue From Germination, Usually Into The Flowering Phase.
What Happens
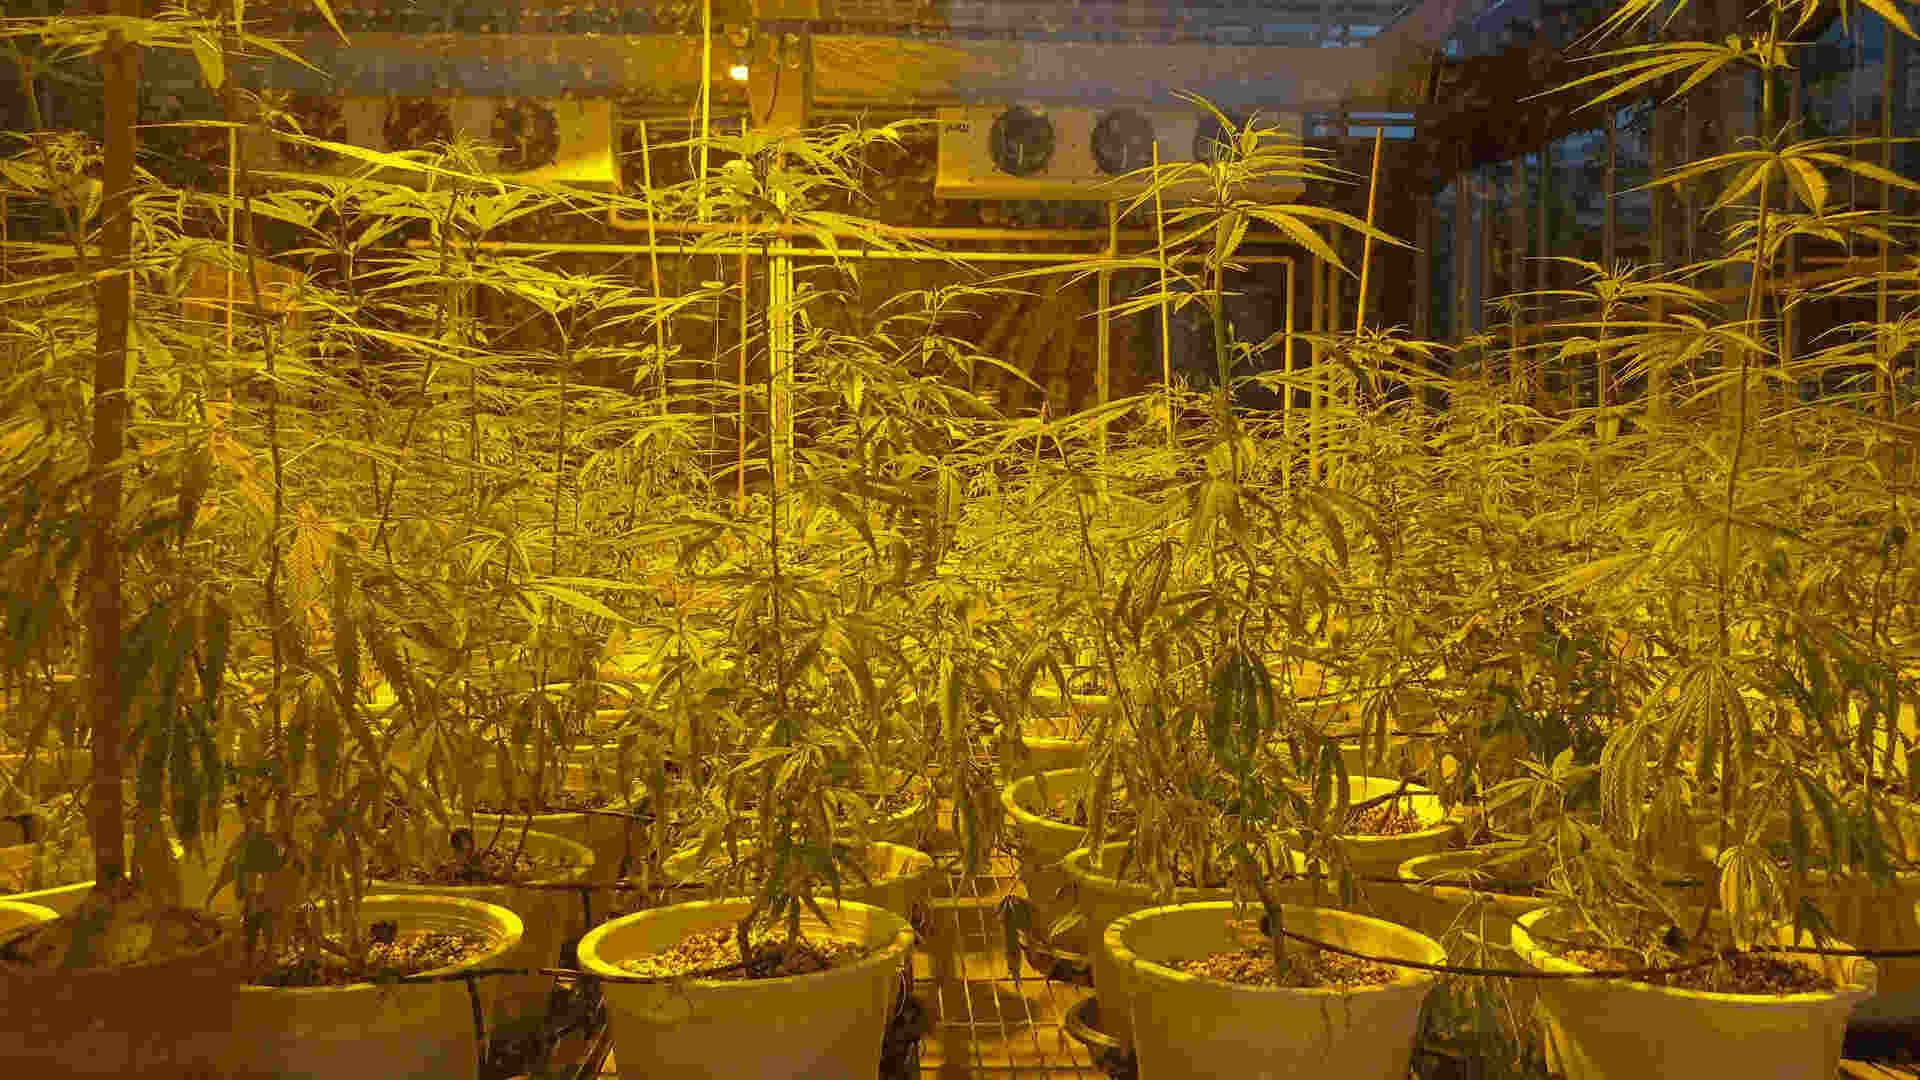
The cannabis plant’s remarkable ability to stretch is hard to outperform in the plant kingdom. Sugar Cane and bamboo are among the other rapid crop growers, but still, compared to a 6-meter hemp plant, it's hard for anything to keep up! The velocity with which the stem elongation occurs is remarkable, a competitive evolutionary trait to help the plant fight for canopy space racing for the sky/light. At this time, it is possible to observe the plant grow visibly morning to night and night to morning. This phase is crucial in determining the plant's ultimate size, overall structure and, therefore, its yield.
Conventional Wisdom
Maintain a consistent mid-high intensity light cycle and evenly distribute the light source over the canopy. Providing support, such as stakes or trellis netting, can help prevent plants from toppling or even act to keep them from falling outside the light zone. It is essential to do that now before it becomes too cumbersome as the plant grows.
Pro Tips
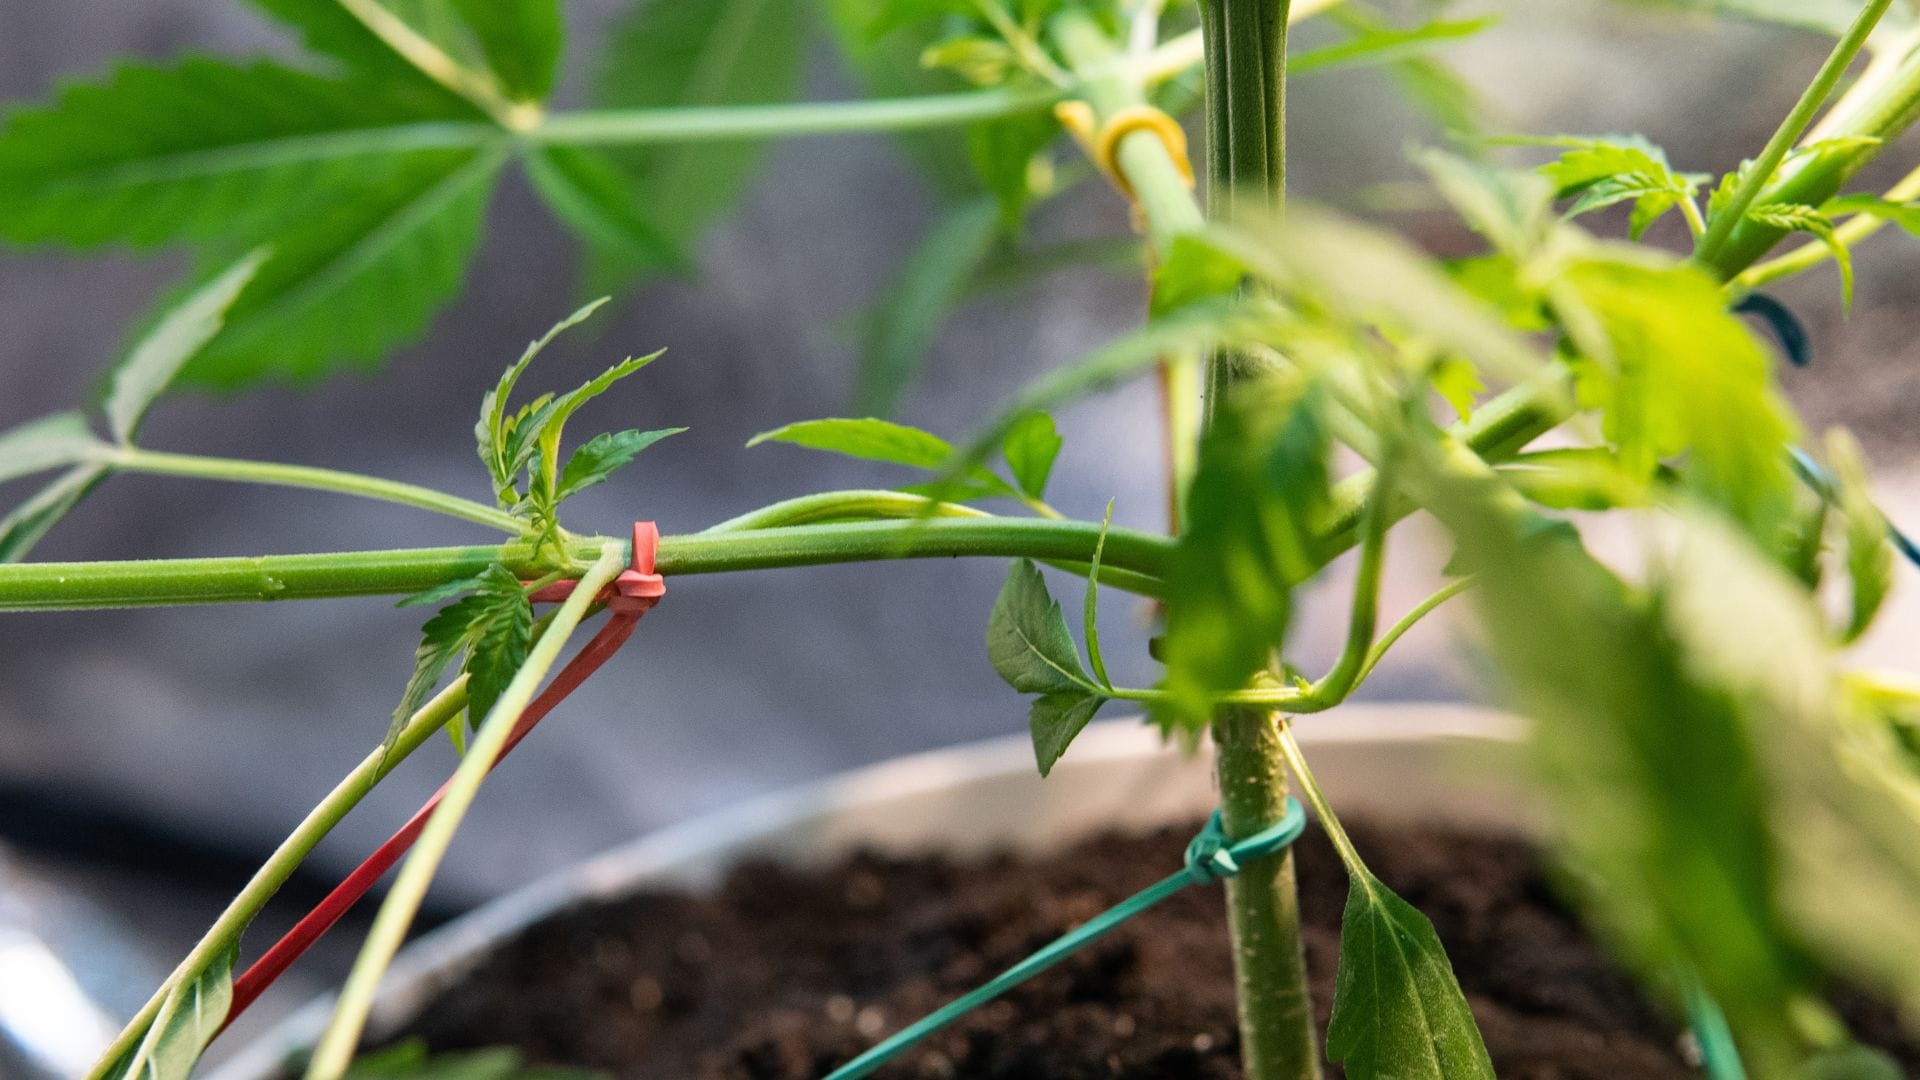
Pinching and even main stem topping (if the second node is established) can be great ways to bush out your plants quickly and turn vertical growth into lateral growth. Each pinch point will result in two emerging branches where there was one before. Utilise the rapid growth in this stage to shape the plant’s architecture into the most desirable one for your environment, smaller grow rooms would benefit from attention here.
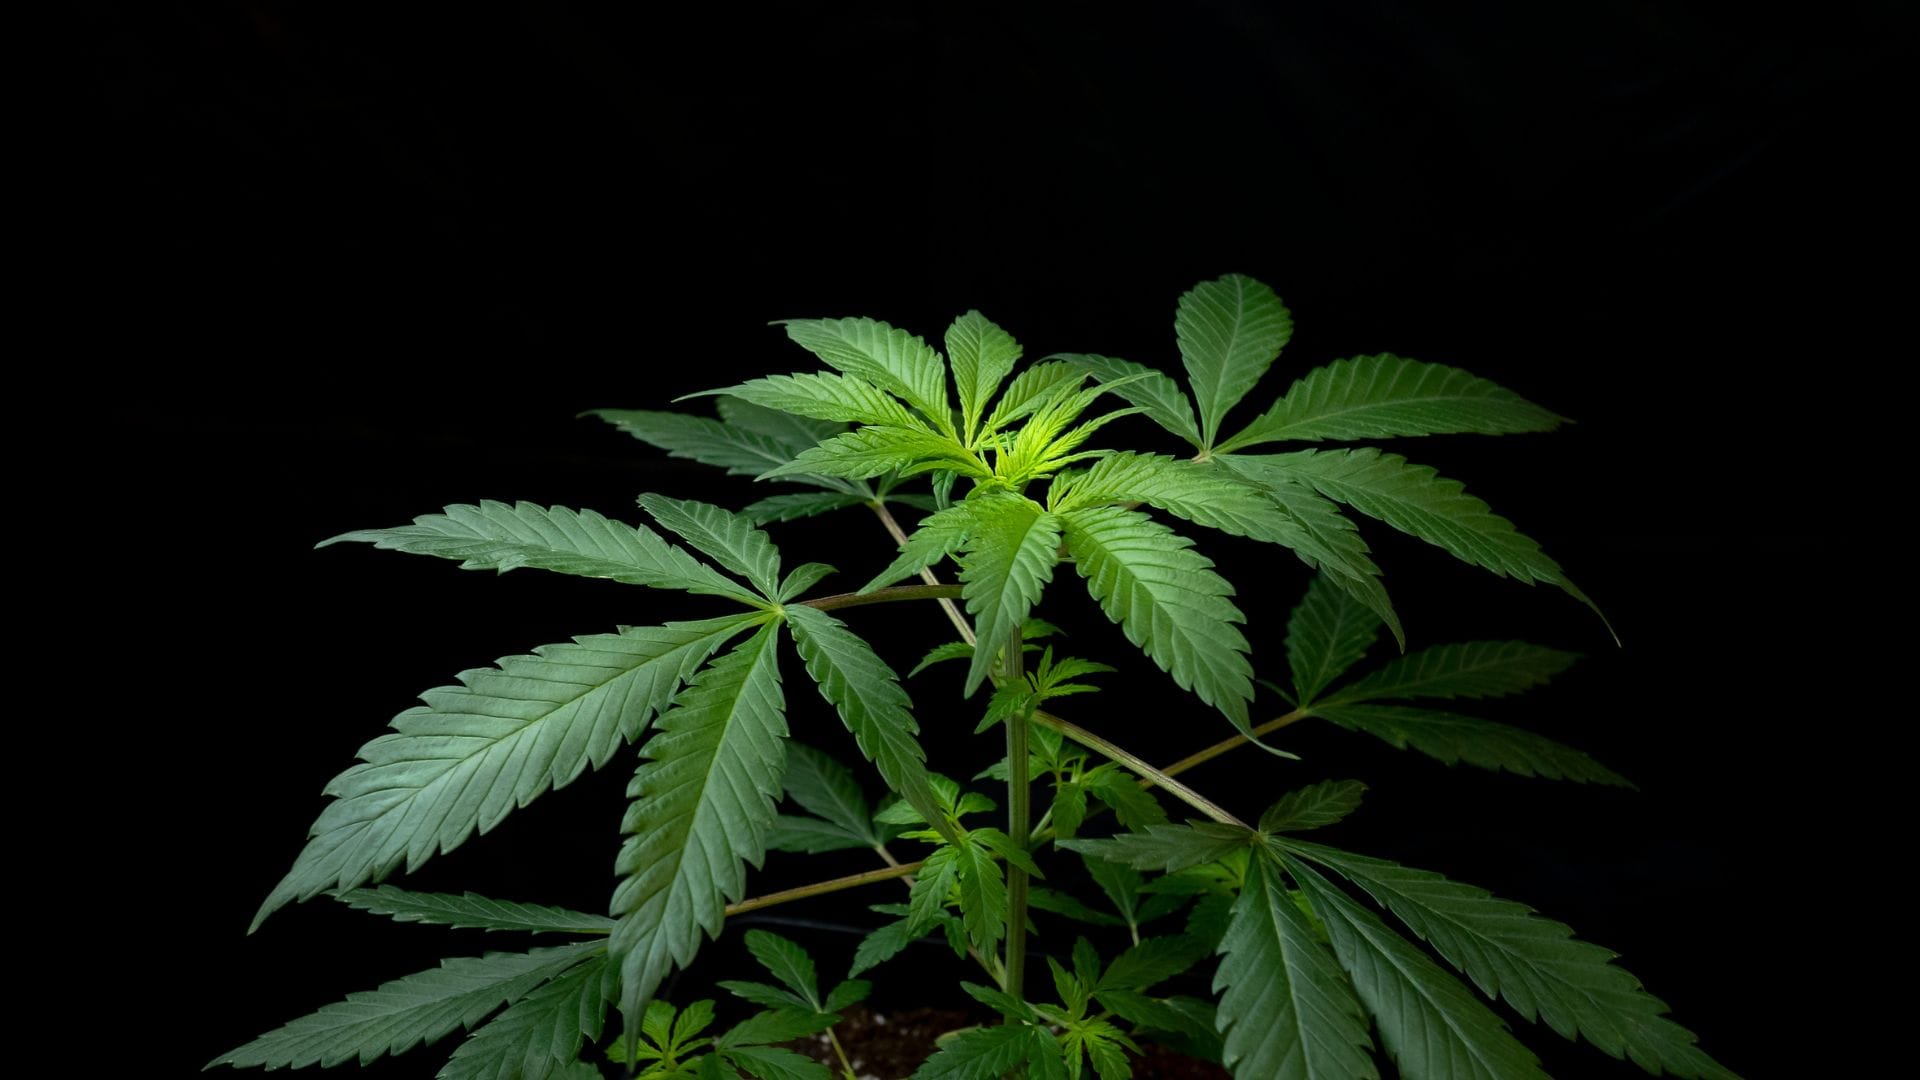
Step Five: Branching And Foliage Growth – Continuous
What Happens
An intricate network of branches and cannabis leaves will start to take shape, extending from the main stem of your weed plant. As it matures, the foliage becomes increasingly dense, further augmenting its photosynthetic capabilities. On top of this, heavy foliage allows the plant to create and manipulate its own microenvironment, shielding it from the most extreme weather, even in a grow tent!
Conventional Wisdom
Maintain optimal environmental conditions, including temperature (around 70-80°F or 21-27°C) and humidity (40-60% RH). Prune any lower, shaded foliage to promote airflow and redirect energy towards upper canopy growth. Consider employing low-stress training techniques like bending or tying down branches to encourage horizontal growth and maximize light exposure for the greatest plant growth.
Pro Tips
If you have trouble with a hot and dry environment, you should allow the leaf count to increase and refrain from too much defoliation. This is more obviously seen in the true indica phenotypes, which are prepared for the dry, hot summers of the Iranian plateau (South and West Asia, Hindu (Indu) Valley etc.). Here the summer temperatures get over 40 degrees, and these plants have found a way to lessen the impact of the heat and increase the humidity within the structure simply by creating dense foliage which acts almost as a protective layer/cover, allowing the conditions inside to be slightly less extreme than the outside.
Conclusion
The vegetative growth stage of cannabis serves as a pivotal point in its lifecycle. During this phase, the plant establishes a robust root system, develops a sturdy stem, and expands its leaf surface area. These physiological adaptations directly influence its ability to harvest light, absorb water, and show its true vigour as it progresses toward the flowering stage.
A vigorous vegetative growth produces a cannabis plant primed for the flowering stage. Increased height, branching, and foliage contribute to the plant's overall productivity, maximizing its capacity for flower production and resin development.
By careful planning, optimization and nurturing cannabis cultivation enthusiasts can unlock the full potential of this captivating plant, reaping the rewards of its bountiful growth by optimising all stages of life. Meet all your plant needs during the veg stage, and you’re all set.
