
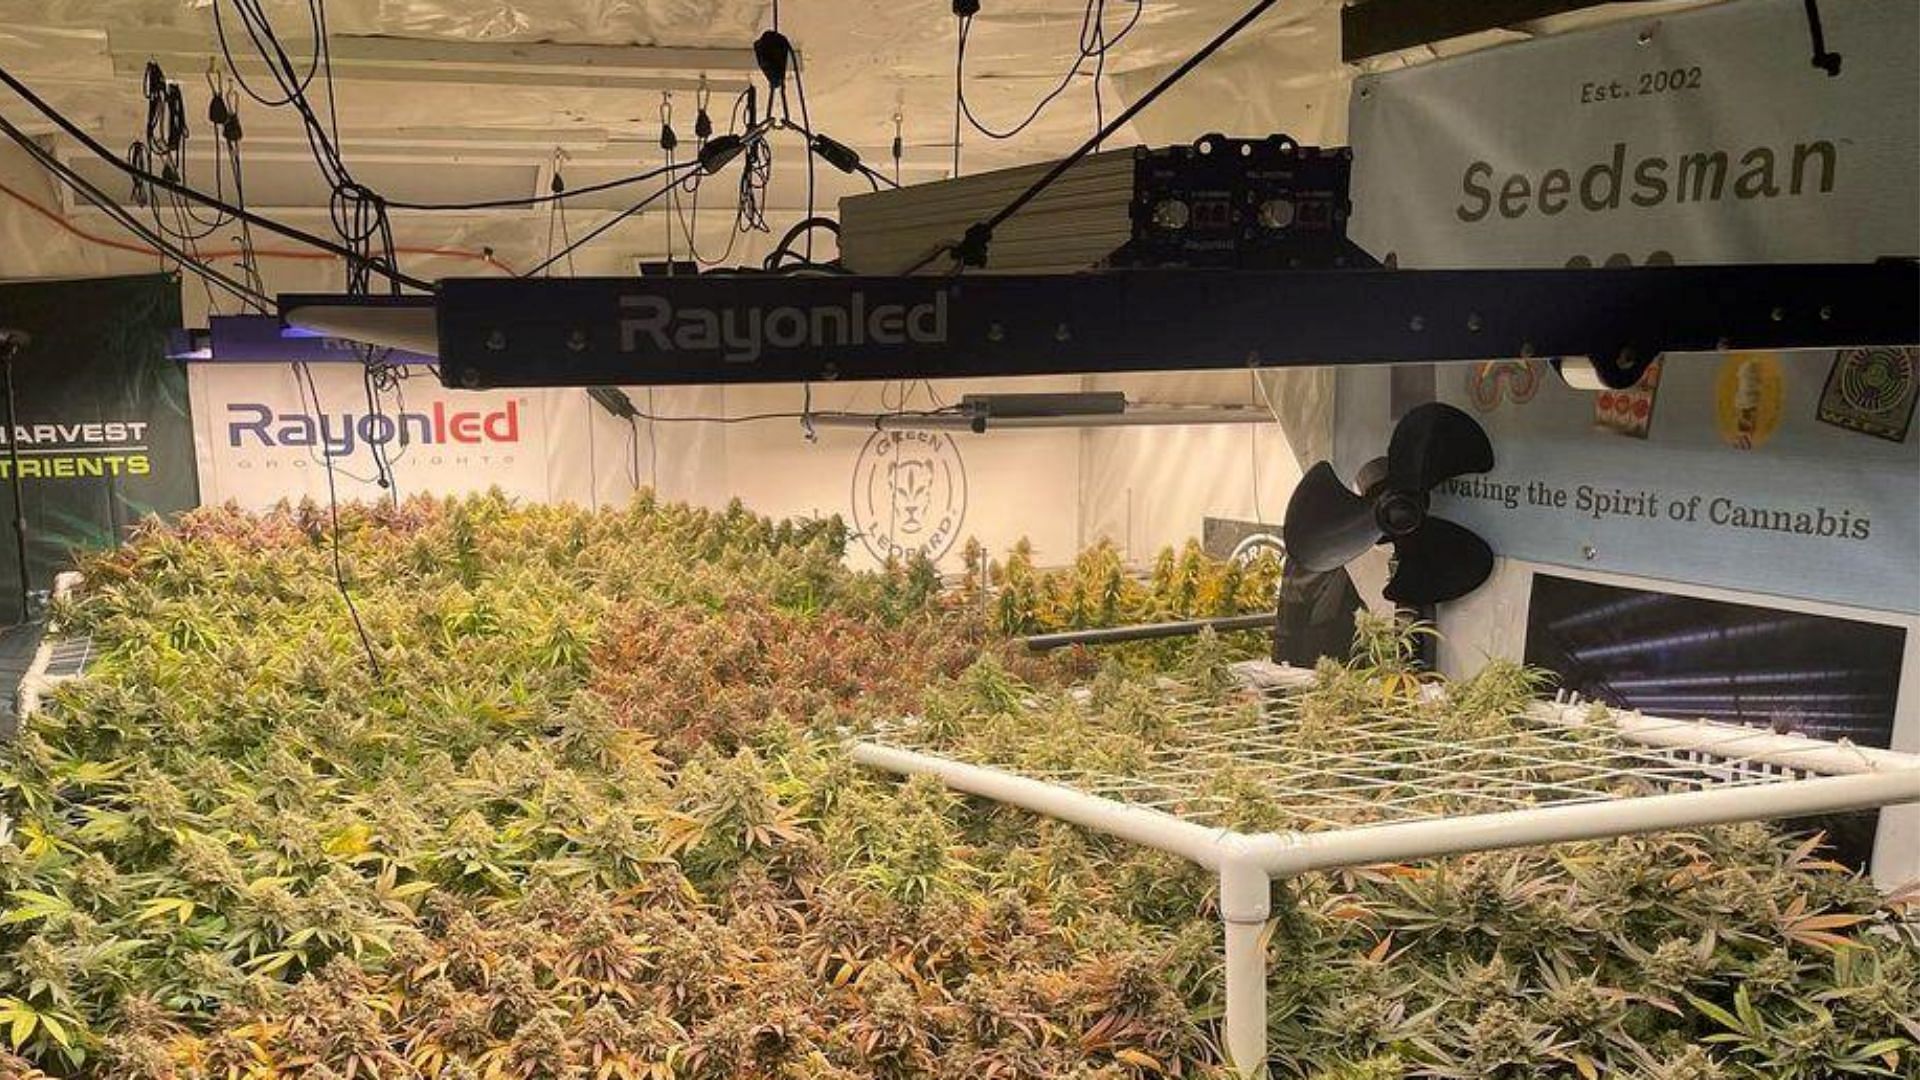
Building your own grow tent, especially for dedicated indoor cannabis cultivators, offers several advantages that might not be immediately apparent from merely observing commercial tents. The fact that grow tents are essentially mini grow rooms does not help us separate DIY tents from DIY rooms. However, the main thing to follow is the idea that we can create a customised space for our plants. One obvious point is that there isn’t a cost saving on the upfront spend, but it could be debated that tents are cheaper to buy but more expensive to run. Here, we break down some of the details to consider if building your own grow tent/room.
Customisation To The Space Available
One of the primary advantages of constructing your own grow tent, other than the joy of building with one's own hands, is the ability to tailor it to the precise dimensions and shape of your available space. Although many high-quality off-the-shelf products come in standardized sizes, a DIY tent allows you to utilize unconventional or irregular spaces, maximizing the cultivation area.
Although many high-quality off-the-shelf products come in standardized sizes, a DIY tent allows you to utilize unconventional or irregular spaces, maximizing the cultivation area. Customizing the sizing ensures you get the most out of the space, be it a closet, a slant under the stairs, or a corner of an attic room. In addition, it allows you to build ‘in’ and ‘out’ ports where they are most convenient for both the infrastructure of where it is situated and the growing space inside.
Enhanced Insulation Capabilities
Commercial tents are often made with a one-size-fits-all approach. When building your own, you have the choice to include insulation, which can be indispensable if you're cultivating in particularly cold or warm environments. Environmental control considerations should always begin at the point of constructing the grow space. You can ensure optimum thermal retention or dissipation by selecting specific materials or introducing additional insulation layers. This ensures ideal growth conditions and can lead to energy savings, as the need for supplemental heating or cooling can be reduced. It is particularly important to have this if there is a sudden turn in weather, especially toward the extreme ends, i.e. heat waves and cold snaps.
Strength And Durability
There's a considerable range in the quality of commercial grow tents, with some being more prone to wear and tear than others. The ability to bear equipment weight, i.e. heavy fans or lighting equipment, is variable also in commercial tents. Constructing your own tent allows you to decide on the robustness of the build.
Constructing your own tent allows you to decide on the robustness of the build. By choosing higher-grade materials or reinforcing the structure, you can create more resilient and long-lasting walls. This is especially valuable if you wish to use the walls as anchor points for various reasons, such as a scrog net, fan positioning, extra plant supports, etc., or if your setup will undergo frequent modifications.
Material And Feature Flexibility
Beyond structural and thermal considerations, building your own tent means you can pick materials more suited to the specific needs of the cannabis plant. For instance, some consider a material that will produce a particular spectrum of light reflection – how important that is is not well documented. However, as touched on above, other features you might want to incorporate include in-built trellising, multi-tier shelving, or even automated climate control pockets.
Economic Efficiency Over Time
While the initial cost might be higher, especially if you opt for premium materials, the long-term economic benefits can mean overall wins. Enhanced durability means fewer replacements, while optimal insulation can save energy. Over time, the return on investment can be higher than perpetually replacing, repairing or upgrading commercial tents.
While the initial effort and expertise required for a DIY grow tent might seem daunting, the benefits can be significant, particularly in terms of customization and optimization. It allows cultivators to design not just a growing space but an environment meticulously tailored to the nuanced needs of their plants and their situation.
Here's a step-by-step guide to building a simple DIY grow tent:
Materials:
- PVC pipes or metal poles for the frame.
- Corner fittings for PVC pipes or metal connectors.
- Mylar, white poly, or panda film for reflective material.
- Zipper or Velcro strips for entrance.
- Duct tape or strong adhesive.
- Black canvas or thick black plastic for the exterior.
- Ties or straps for securing.
- Optional: mesh or netting for vent openings.
- Optional: additional insulation
Instructions:
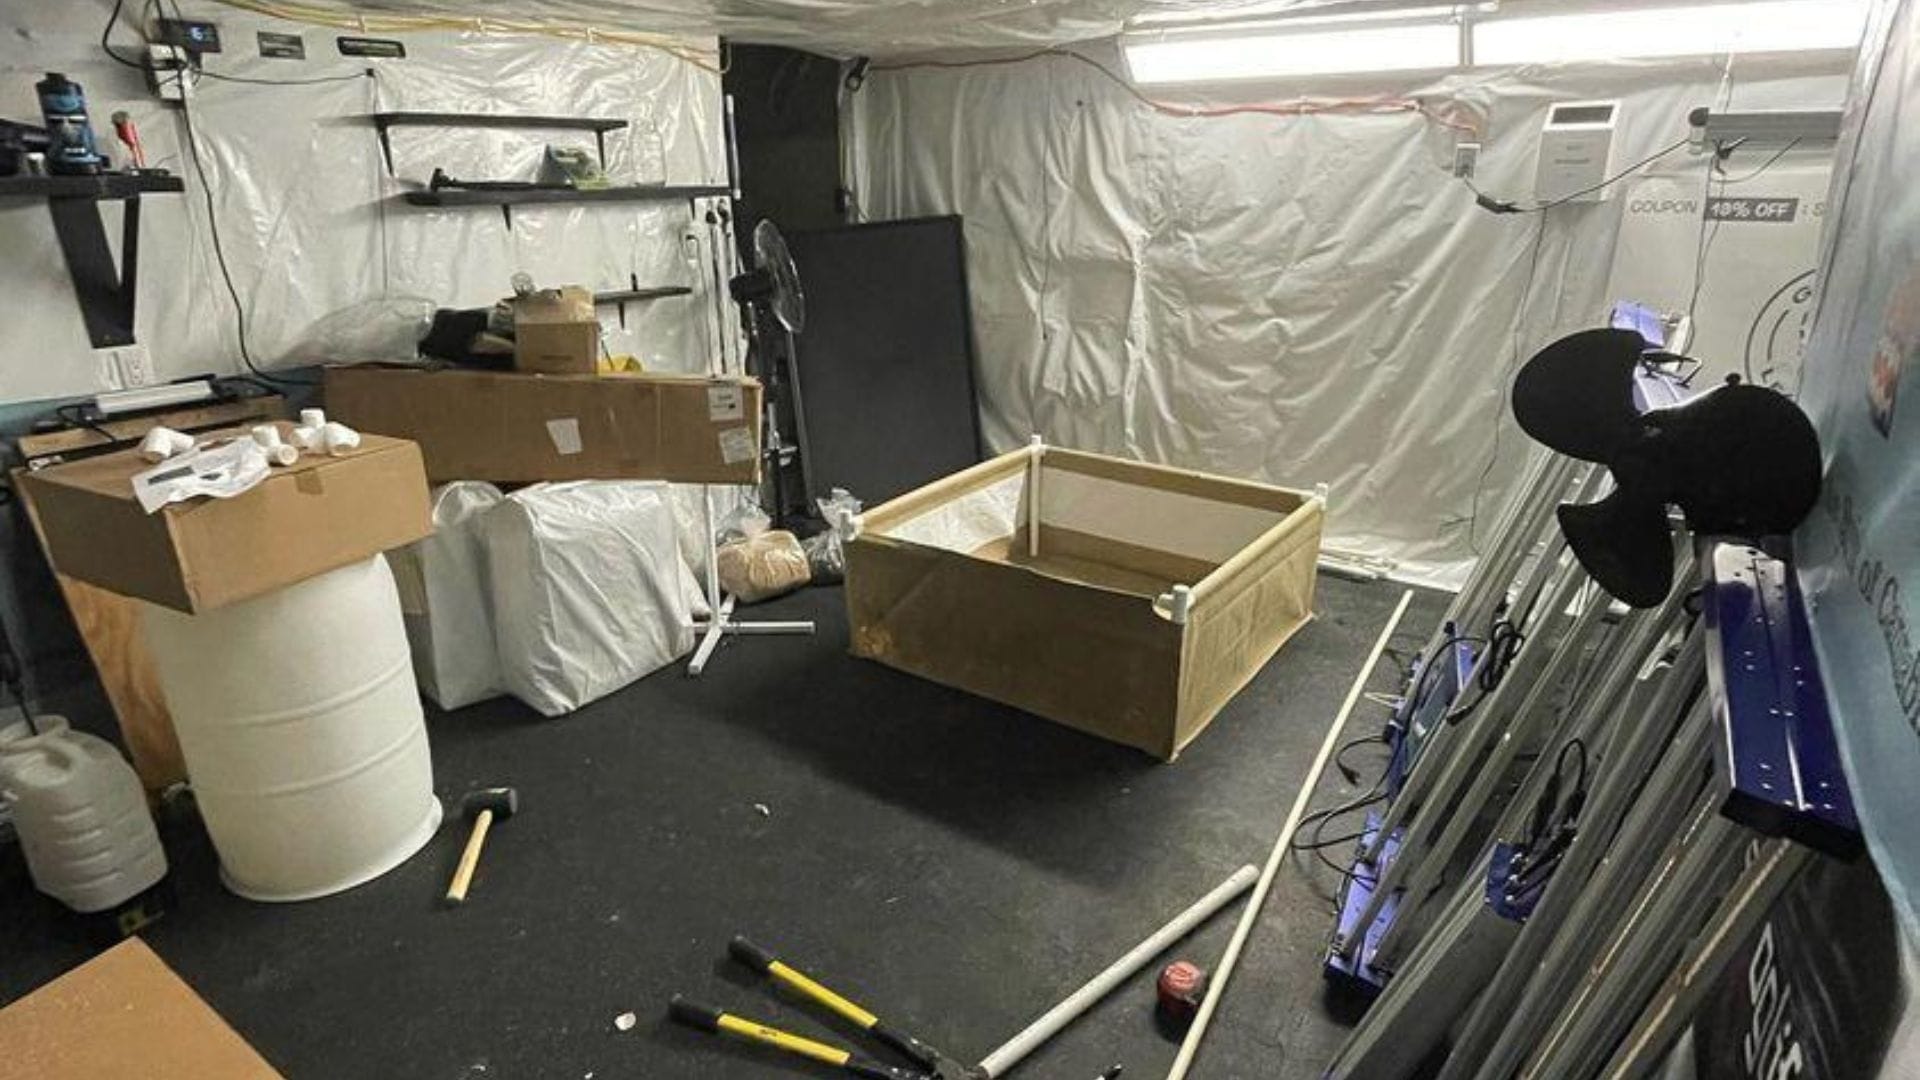
1. Frame Construction:
Decide on the size of your grow tent based on the number of plants and their expected mature size. Cut the PVC pipes or metal poles to the desired length. Connect the pipes or poles using the corner fittings or connectors to create a rectangular cube.
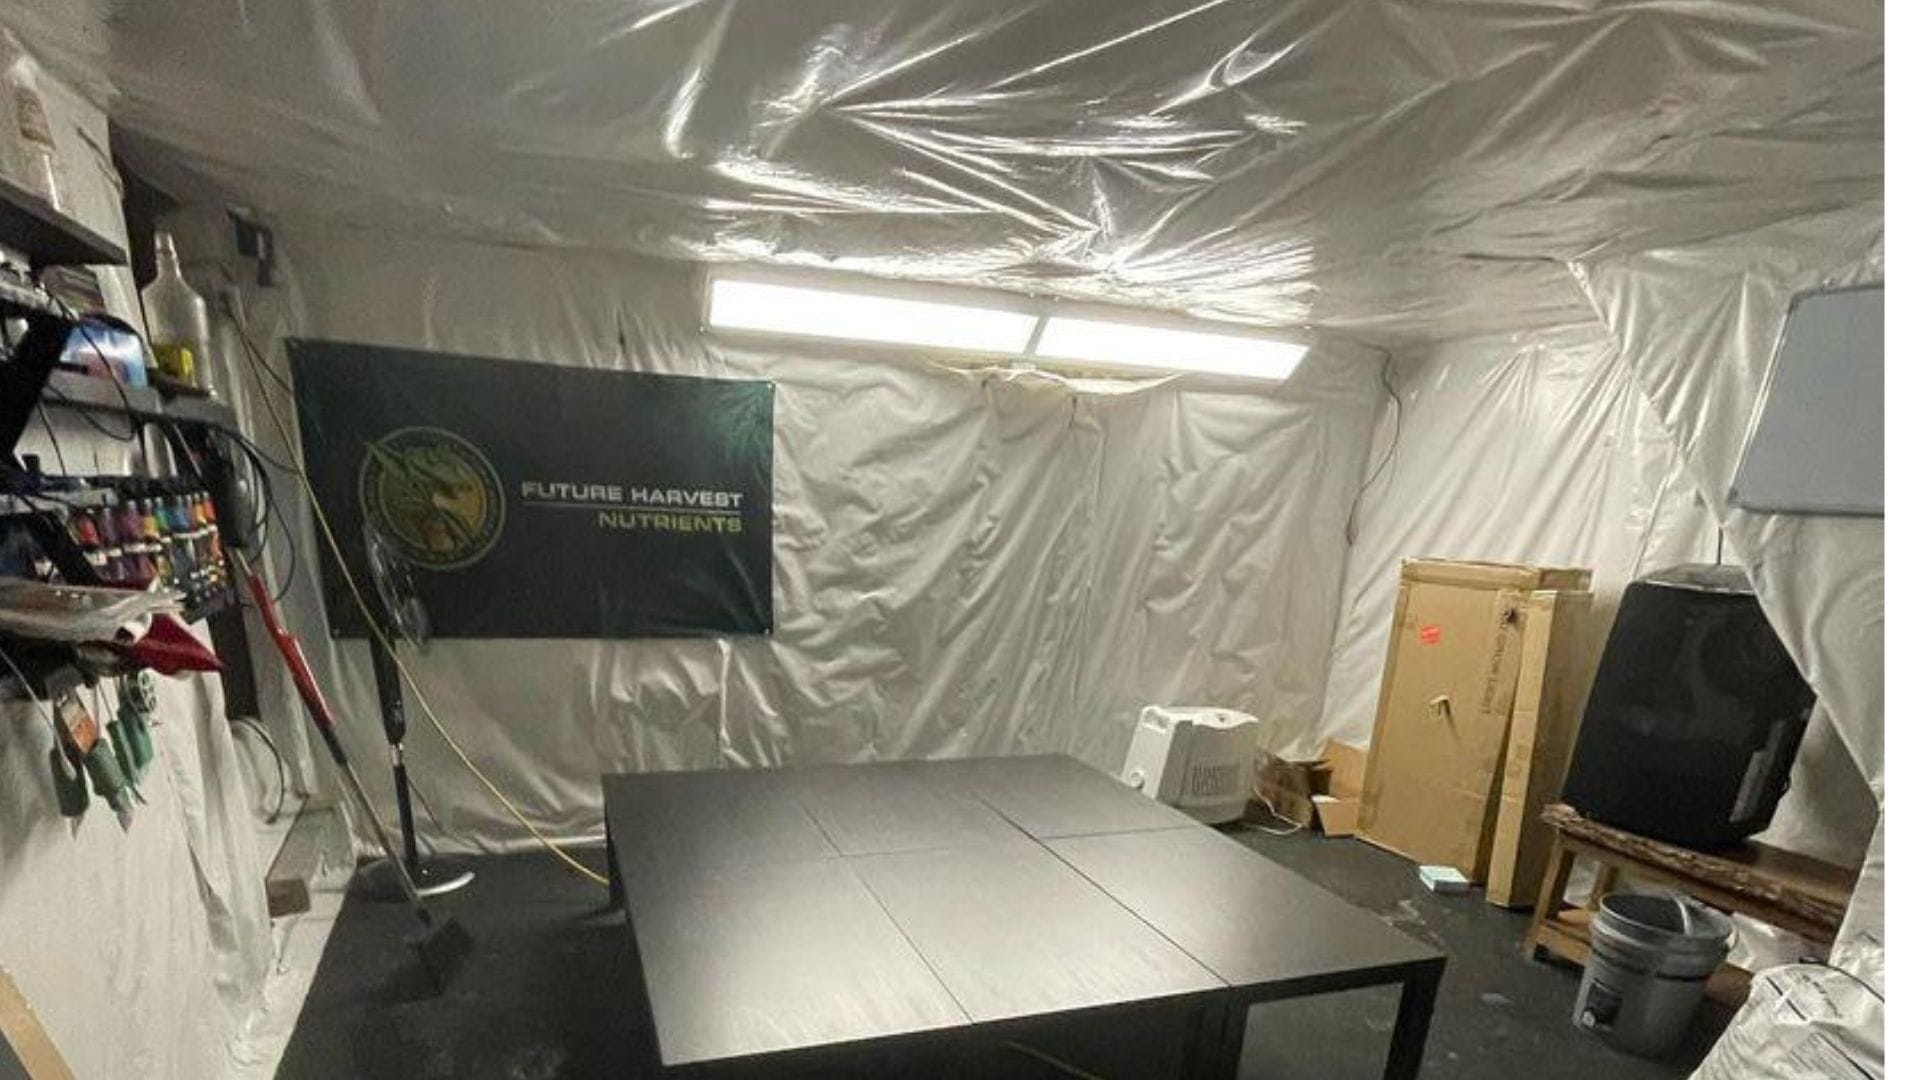
2. Reflective Lining:
Measure the interior of the frame. Cut the reflective material (Mylar, white poly, or panda film) to fit the inside of the frame. Secure the reflective material to the inside walls of the structure using duct tape, adhesive, or another method. Ensure there are no gaps and that the lining is taut against the frame.
3. Exterior Covering:
Measure and cut the black canvas or thick plastic to cover the outside of the frame. The goal is to create a lightproof exterior. Decide on the location of your entrance. Cut a slit or rectangle for your door and attach a zipper or Velcro strips to create a sealable entrance.
4. Ventilation & Cord Openings:
Decide on the location for your exhaust fan, intake vents, and cord openings. Cut the openings, ensuring they're slightly smaller than the fans or vents. Then, secure mesh or netting over the intake vents to prevent pests from entering. These can be used to roll up and secure openings or flaps.
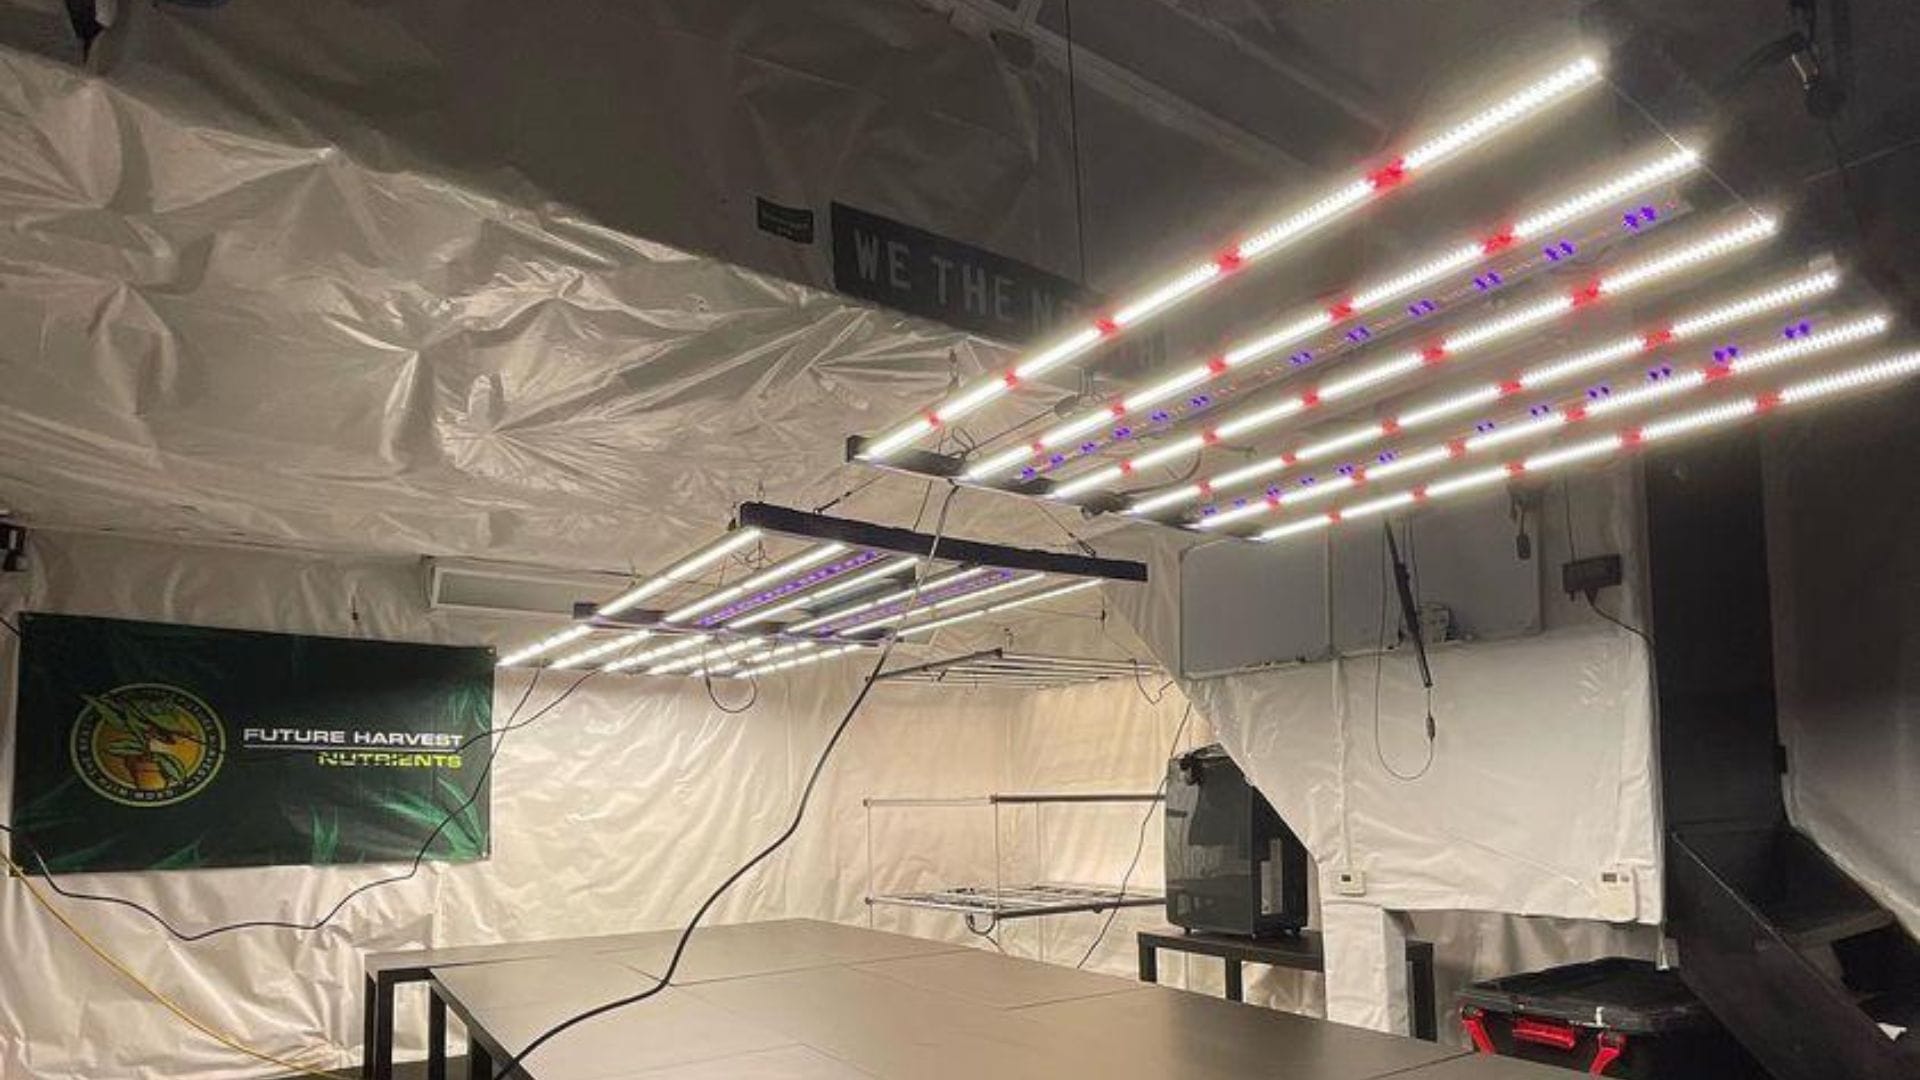
5. Additional Features:
Hanging Bars: Install horizontal bars at the top of the tent for hanging lights, fans, or filters. Consider a removable waterproof tray for the tent's floor to catch any water runoff and protect the surface beneath.

6. Safety Check:
Ensure all electrical cords and equipment are safely arranged to avoid water or trip hazards. Check the stability of the tent. It might be helpful to anchor the tent if it seems top-heavy, especially when equipment is hung.
7. Initial Run:
Set up your lighting, ventilation, and other equipment inside the tent. Close the tent and let it run for a day, monitoring temperature, humidity, and light leaks. Address any issues you identify.
Pro tips:
- When choosing materials, prioritize durability and lightproof qualities.
- Consider any seams, zippers, or potential areas where light might penetrate and ‘double door’ that section.
- Always consider safety, especially with electricity and water in close proximity.
- Plan ahead and be prepared to be flexible in your approach.
